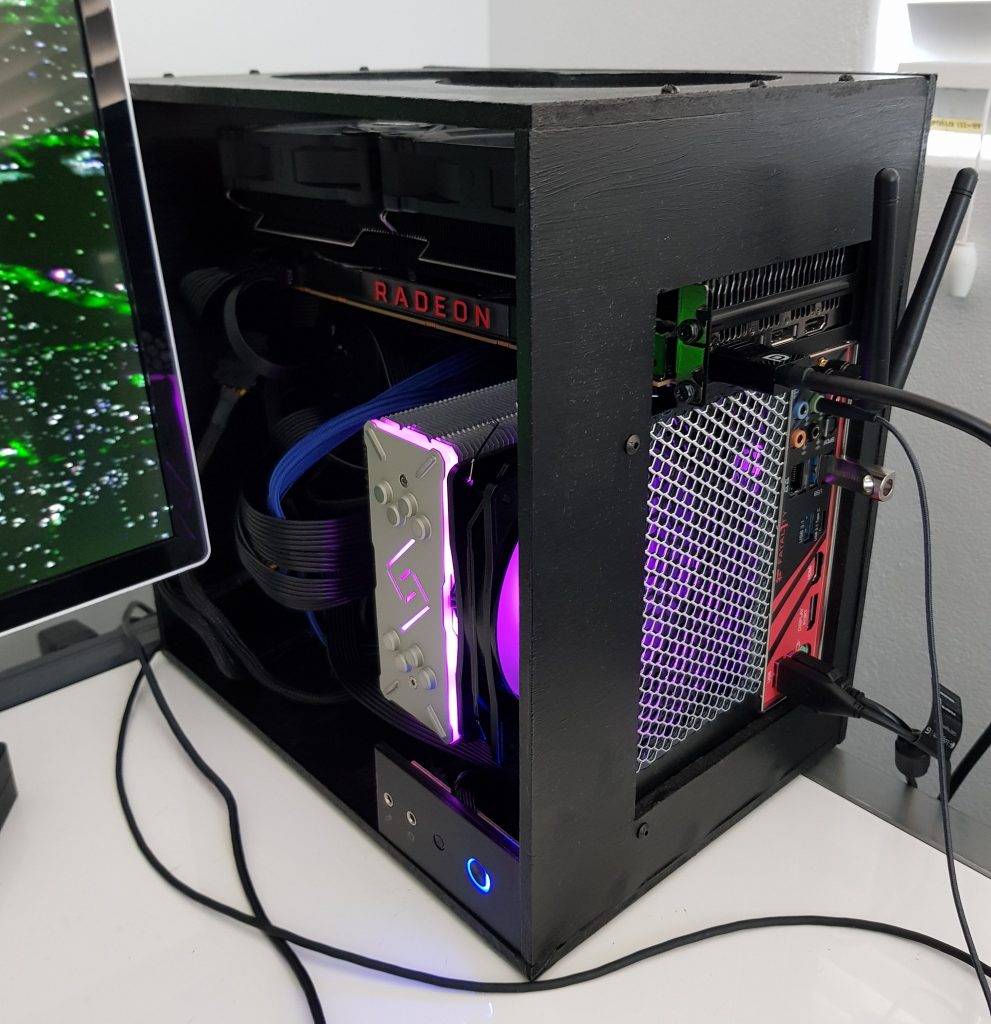
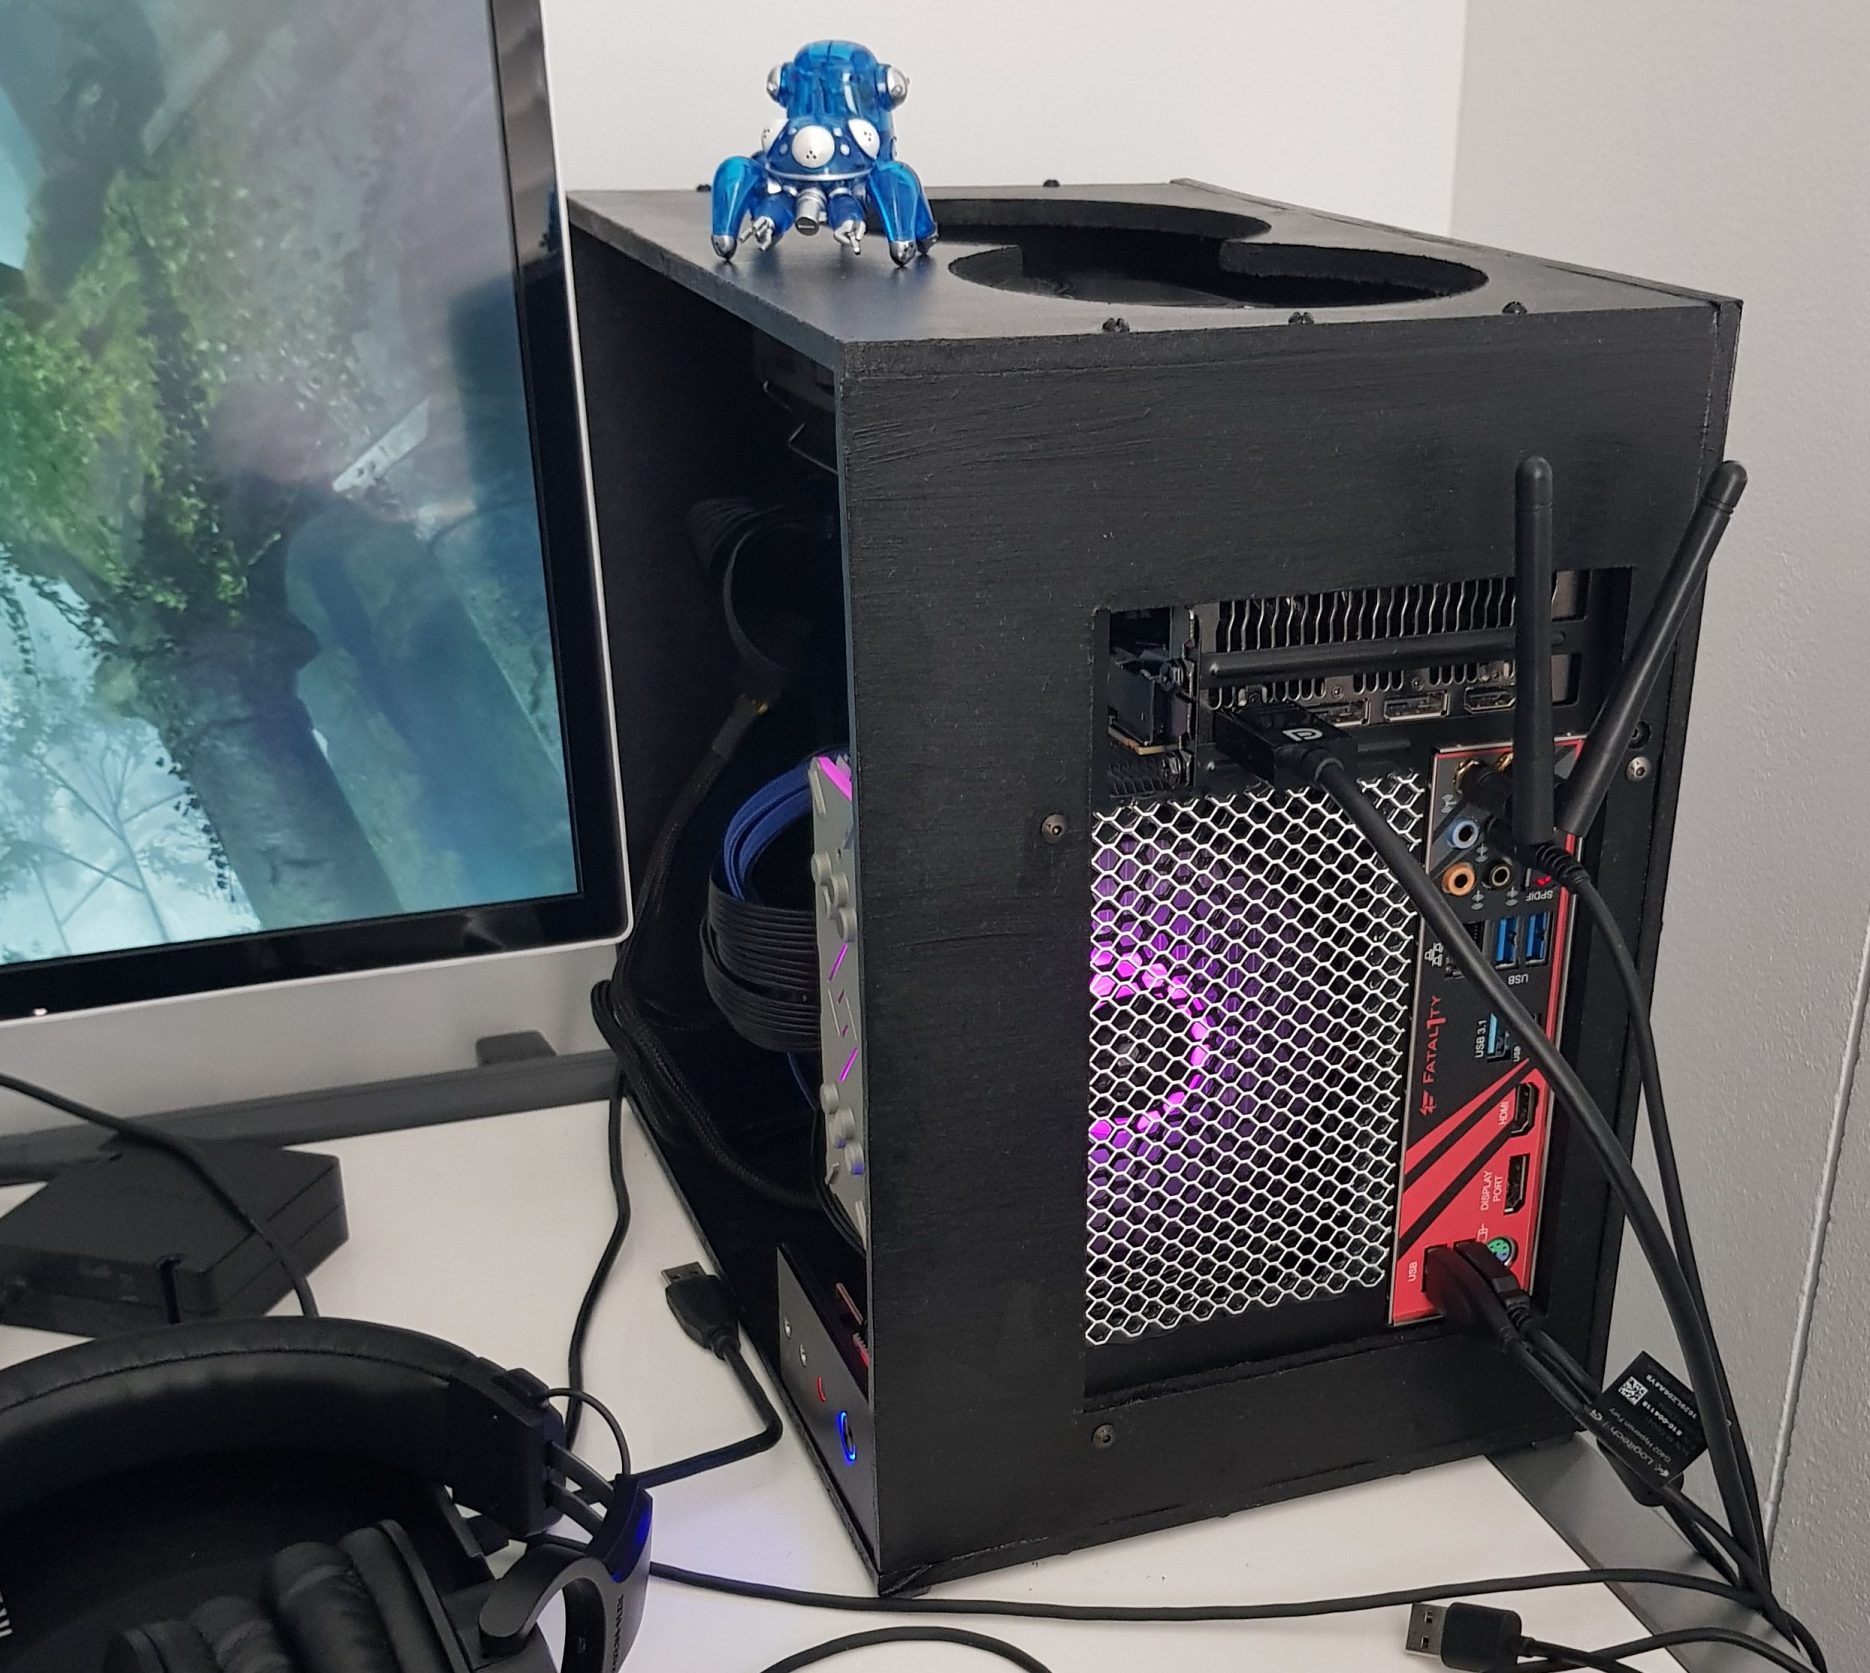
I started building my old gaming PC in 2008, an AMD Athlon 64 dual-core CPU with Nvidia 9600GT GPU, a cheap motherboard and power supply, and a case that I modified with wood and acrylic glass.
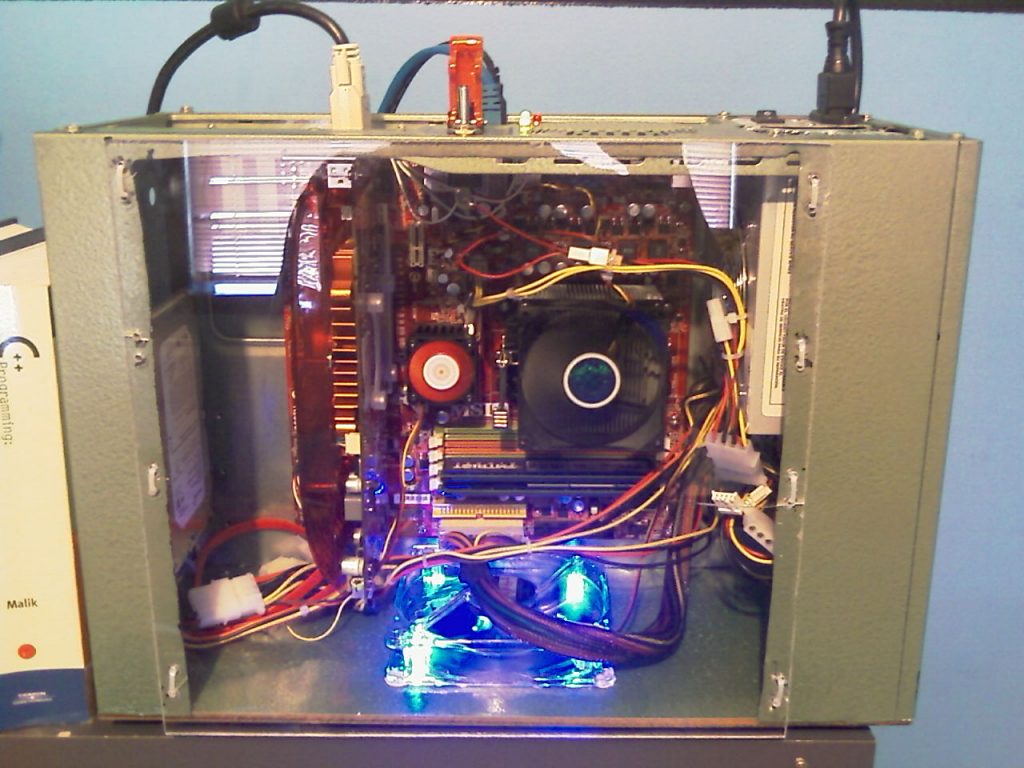

I later replaced the CPU with a triple-core AMD Phenom II, then switched to a better motherboard and power supply for overclocking, replaced the GPU with an AMD Radeon 5770, then upgraded again to a quad-core Phenom II, added a second Radeon 5770 in Crossfire mode, and a pair of 10K RPM hard disk drives in RAID 0 for faster game loading (when Solid State Disks were too small and expensive).
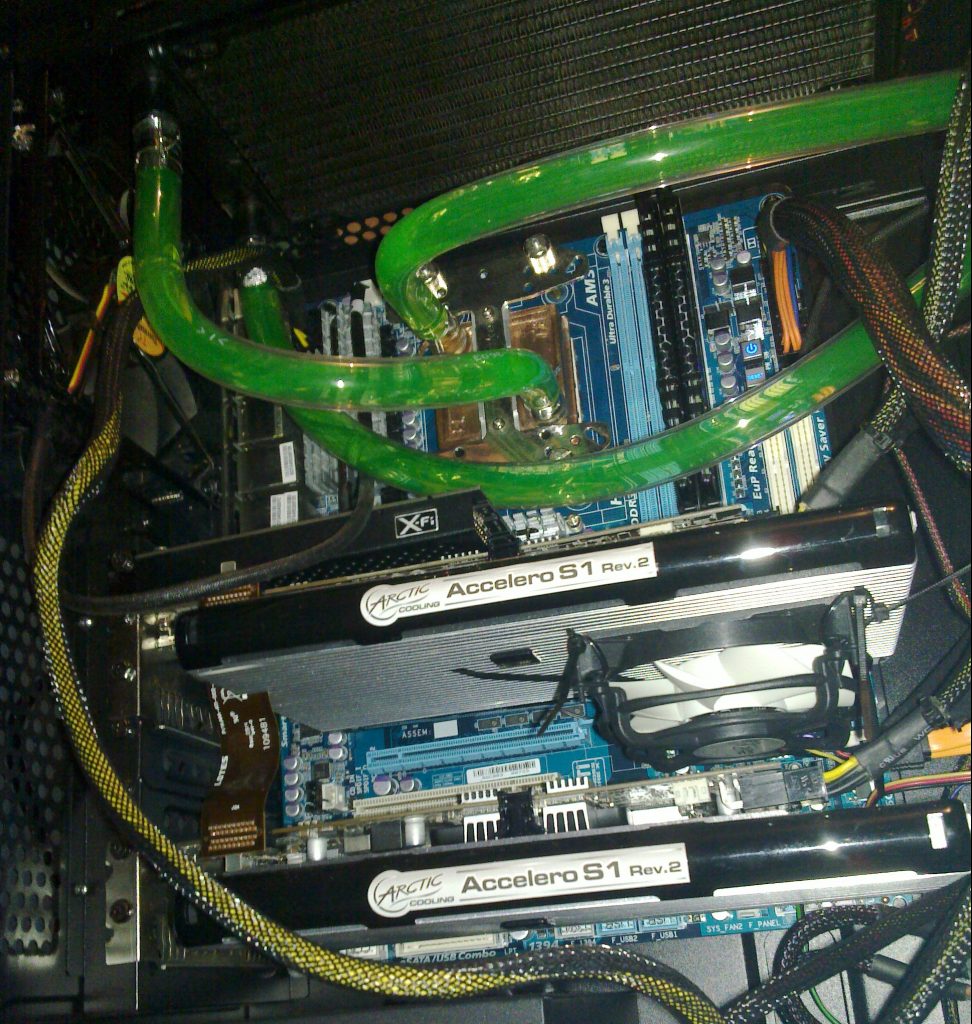


Finally I replaced the two Radeons with a Nvidia GTX 680 in 2013. That same PC is still in use today however I avoid using it for anything important because it sometimes crashes, or fails to resume from standby, or just won’t turn on. Some modern games run perfectly at 1080p, others are too slow or crash for no reason.
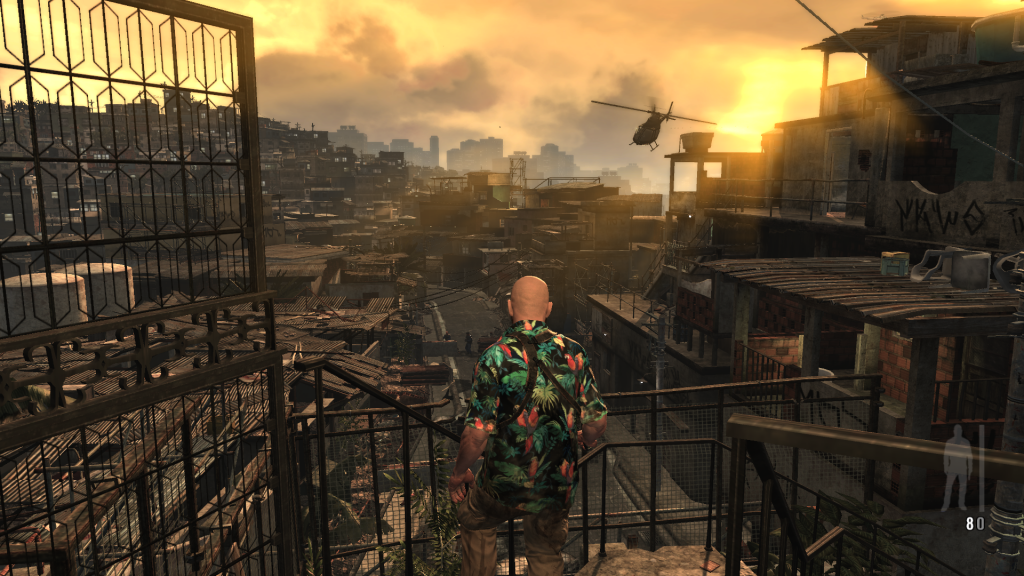
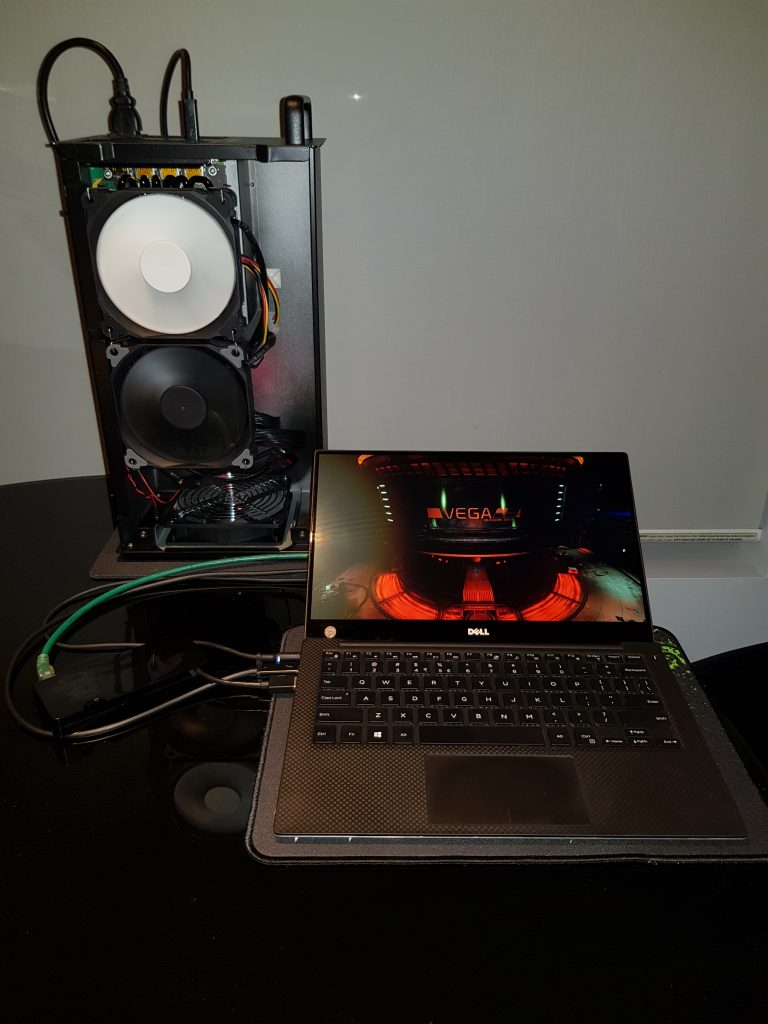
A small lightweight laptop was the more convenient form factor for my current computing needs, so a Dell XPS 13 has become my primary workstation. As a temporarily solution for PC gaming I have been using an AKiTio Node external graphics card enclosure to connect an AMD Radeon RX Vega 56 to the laptop by Thunderbolt 3 cable.
This works very well for some game engines, while others are severely restricted by the 2x PCIe lanes of the laptop’s Thunderbolt 3 port, or the additional latency of the Thunderbolt 3 controller, or the laptop’s 3.1GHz dual-core (4 thread) CPU, or the relatively small 8GB system RAM.
None of these factors are a problem for compute tasks like video encoding or OpenCL applications. I can highly recommend an external GPU for professionals requiring GPGPU on a laptop that has Thunderbolt 3 with weak inbuilt graphics. But it’s not for gaming. If I wish to call myself a PC gamer in 2018 and beyond, I need more computer.
Parts list
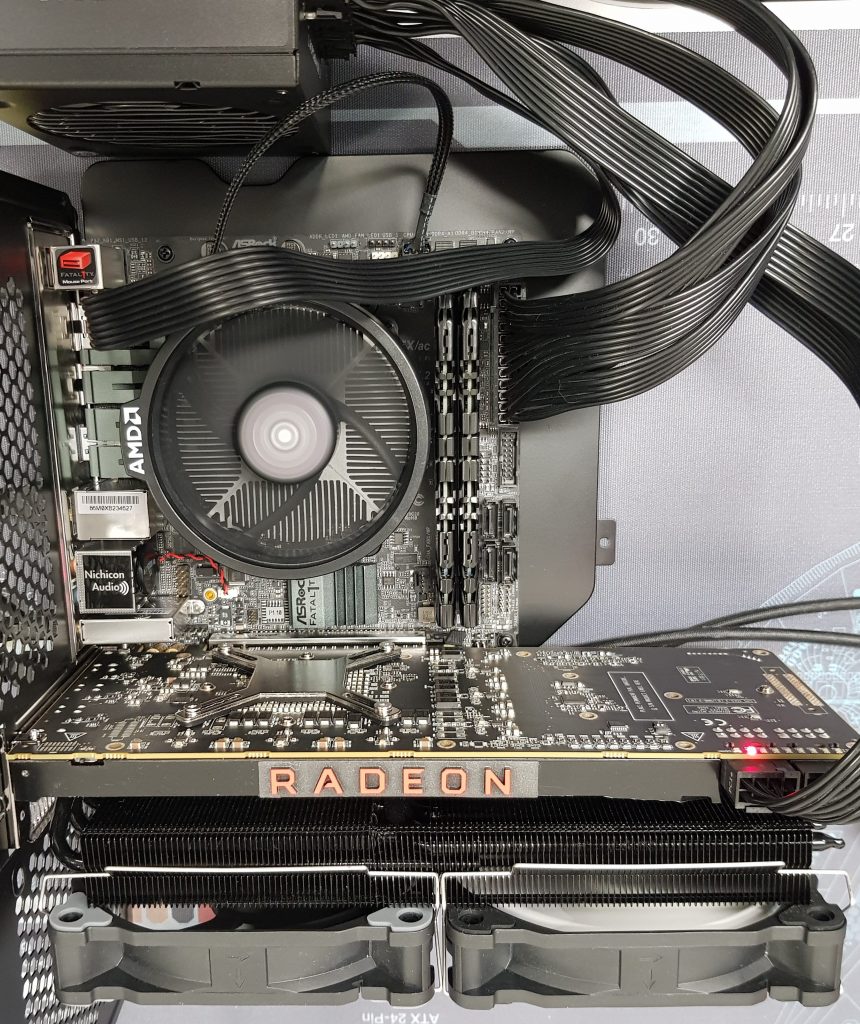
CPU: AMD Ryzen 5 2600, 6 core (12 thread)
CPU Cooler: Deepcool Gammaxx GT RGB
GPU: XFX AMD Radeon RX Vega 56 8GB
GPU Cooler: Raijintek Morpheus II
RAM: 16GB (2x8GB) G.Skill FlareX DDR4-3200 14-14-14-34
Motherboard: ASRock Fatal1ty B450 Gaming-ITX/ac
StoreMI
After testing system stability by running LuxMark and Prime95 overnight, I set up a tiered drive with StoreMI, which is a ‘lite’ version of Enmotus FuzeDrive that AMD has licensed for free with X470 and B450 motherboards. I combined a Samsung PM951 256GB NVMe SSD with a Seagate FireCuda 2TB HDD to use as my primary filesystem for Windows 10 and all the games. On the first day it was very fast, but the system occasionally crashed with a meaningless blue-screen error. The next day, after filling it with 400 GB of Steam games and some Windows updates, the disk write speed slowed to 60KB/s. Then it got stuck trying to install more Windows updates and finally became completely unusable – crashing to blue screen on every boot.
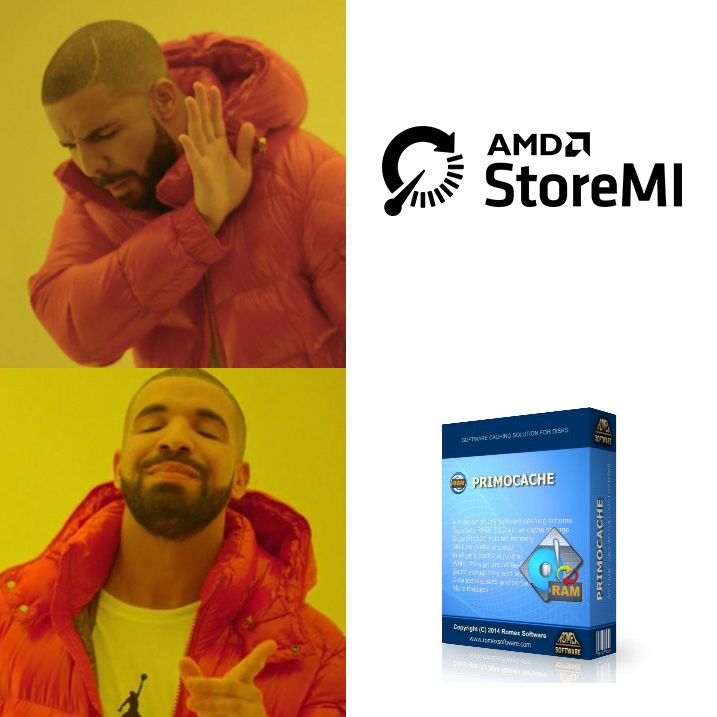
I wiped the disks and installed Windows to the 2TB HDD, then installed PrimoCache to use the NVMe SSD as a read/write cache. This worked as expected – speeding up loading times significantly after the files have been accessed the first time and copied into the cache – but I still wanted to find out why StoreMI failed when it received positive reviews on major tech websites.
Forums and Reddit discussions suggested that StoreMI has issues with NVMe drives that use the Microsoft NVMe driver. This Enmotus support article seems to agree. Unfortunately Samsung doesn’t provide a driver for the PM951 so I wiped the disks again and installed Windows to the NVMe, then created a StoreMI tiered drive for games with the 2TB HDD and a Crucial MX500 250GB SATA SSD. This works perfectly!
Update: This does not work perfectly. After adding 400GB of data again, StoreMI was constantly moving data between the SSD and HDD resulting in an unpleasant user experience with write speed sometimes slower than the HDD alone. PrimoCache provides better performance, consistent behaviour, and more configuration options.
Encryption
This motherboard does not support a physical Trusted Platform Module. An emulated TPM can be enabled in BIOS settings (look for fTPM) to allow automatic boot drive encryption with Microsoft’s BitLocker.
Since my boot drive is incompatible with StoreMI, I was not able to test whether the StoreMI boot loader conflicts with the BitLocker boot loader. This is not a problem when using BitLocker to encrypt a non-bootable StoreMI tiered drive with a password. Because StoreMI works at the block level, frequently-used data will be moved to the faster SSD in the same way regardless of which file system or encryption is used.
Overclocking
Ryzen 5 2600 can run a single CPU core at 3.9 GHz for a short time but will limit itself to 3.676 GHz on all cores under sustained load. I was able to achieve a stable all-core CPU speed of 3.95 GHz by raising the voltage to 1.3 V with a maximum temperature of 67 C using the Deepcool Gammaxx cooler.
For these benchmarks and games I set the CPU to 4.1 GHz at 1.4 V, although this speed crashes under Prime95 stress testing.
The G.Skill FlareX RAM runs at its advertised speed of 3200 MHz after activating the XMP profile.
I raised the Vega 56 power limit to +50% and set the GPU core speed to 1630 MHz and HBM speed to 960 MHz.
| Benchmark | Baseline score | Overclocked | Difference |
|---|---|---|---|
| Cinebench R15 | 1262 | 1421 | +12.6% |
| 3DMark Time Spy | 6181 | 6949 | +12.4% |
| 3DMark Fire Strike | 16168 | 18254 | +12.9% |
| 3DMark Sky Diver | 38409 | 43051 | +12.1% |
Flashing the GPU with firmware from a Vega 64 and modifying the PowerPlay tables allowed it to consume more electricity, which stablised the core clock and let me raise the HBM to 1150MHz.
| Benchmark | V56 firmware | V64 firmware | Difference |
|---|---|---|---|
| 3DMark Time Spy | 6949 | 7372 | +6.1% |
| 3DMark Fire Strike | 18254 | 19184 | +5.1% |
| 3DMark Sky Diver | 43051 | 43213 | +0.4% |
I flashed it back to the Vega 56 firmware for the game performance tests below.
Blender
Some of these Blender render tests finished faster on the CPU, others were faster on the GPU.
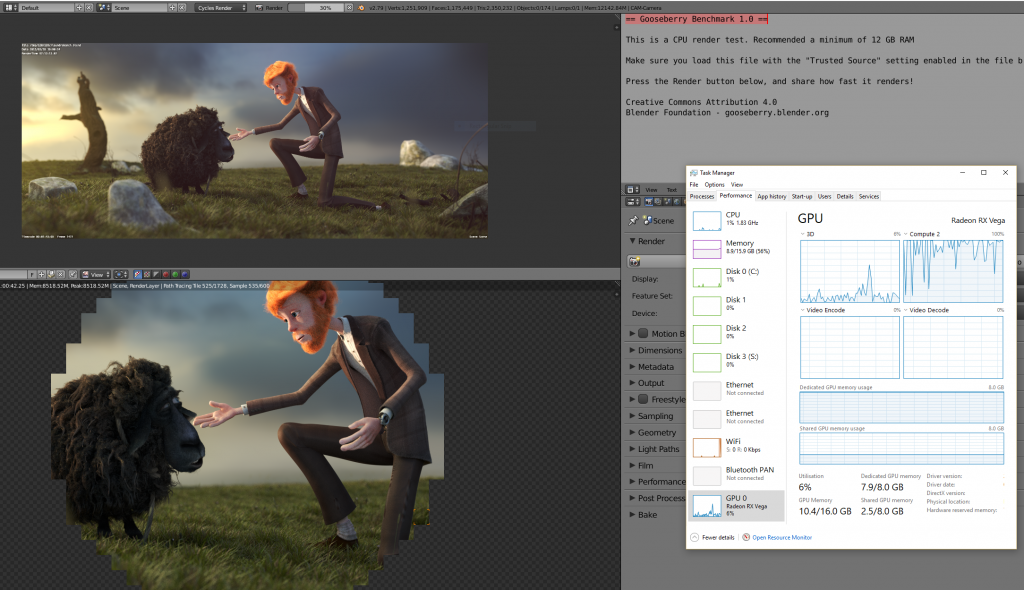
| Benchmark | CPU Time | GPU Time |
|---|---|---|
| BMW27 | 5m 53s | 3m 4s |
| Class room | 19m 10s | 21m 3s |
| Barcelona Pavillion | 18m 15s | 6m 5s |
| Gooseberry | 46m 24s | 69m 23s |
Games
For competitive multiplayer games like Unreal Tournament and Quake Champions it is beneficial to turn down the visual settings to stay above 200 frames per second, regardless of your monitor refresh rate (because input latency). However, a high frame rate is less important for single-player games. My monitor has a Freesync (adaptive frame rate) range of 48 to 75 Hz, which means I won’t be able to see any difference if a game is running faster than 75 frames per second, and it will still look good if that frame rate occasionally drops lower.
AMD’s driver software allows running games at a higher resolution with the image down-scaled to your monitor’s native resolution (which is 2560×1440 in this case), or smooth up-scaling from a lower resolution. With that flexibility in mind, I have tested various high-end games from the last 5 years at the highest visual quality settings, adjusting the resolution up or down to keep average frames per second (FPS) near 75 for the best single-player experience on this monitor.
Anti-Aliasing, PhysX, GameWorks, and HairWorks are disabled in these tests.
Crysis 3 (2013)
71 FPS, 2560×1440, ‘Very High’ Preset
Batman: Arkham Knight (2015)
87 FPS, 3200×1800, Highest Settings
The Witcher 3 (2015)
73 FPS, 2560×1440, ‘Ultra’ Preset, ‘High’ Post-processing
Metal Gear Solid V: The Phantom Pain (2015)
60 FPS (capped), 3200×1800, Highest Settings
Grand Theft Auto V (2015)
79 FPS, 3840×2160, Highest Settings
Deus Ex: Mankind Divided (2016)
82 FPS, 1920×1080, ‘Ultra’ Preset
Rise of the Tomb Raider (2016)
83 FPS, 2560×1440, ‘Very High’ Preset
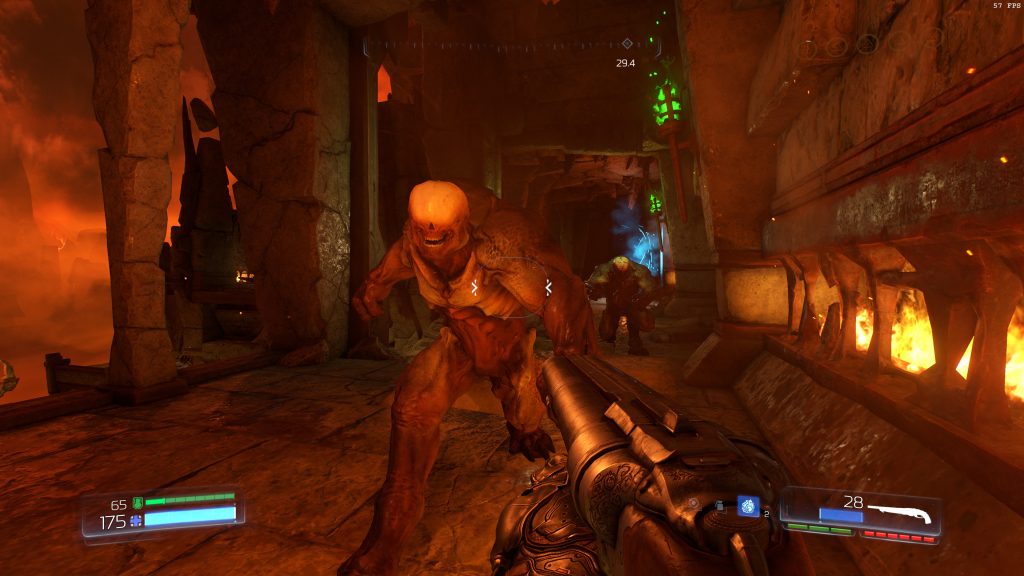
Doom (2016)
82 FPS, 3840×2160, ‘Ultra’ Preset
Battlefield 1 (2016)
79 FPS, 3200×1800, ‘Ultra’ Preset, HDR10
Prey (2017)
72 FPS, 3200×1800, ‘Very High’ Preset
Wolfenstein 2: The New Colossus (2017)
73 FPS, 3840×2160, ‘Mein leben!’ Preset
Warhammer: Vermintide 2 (2018)
77 FPS, 2560×1440, ‘Extreme’ Preset
