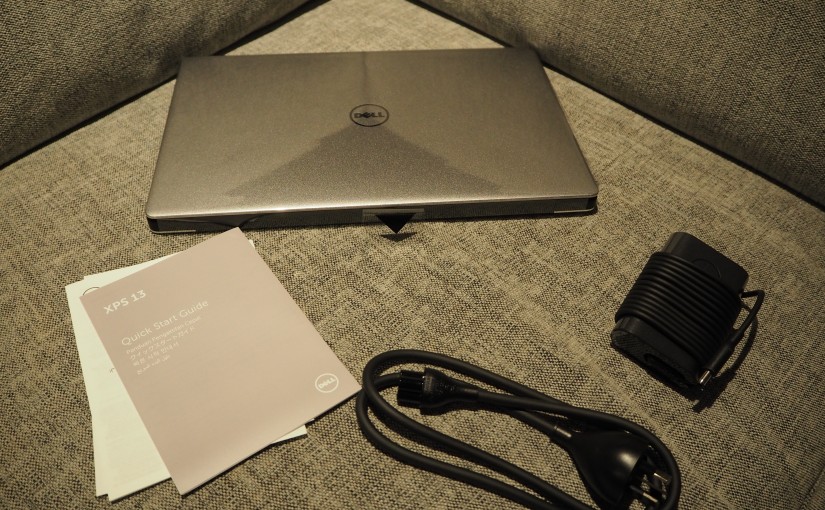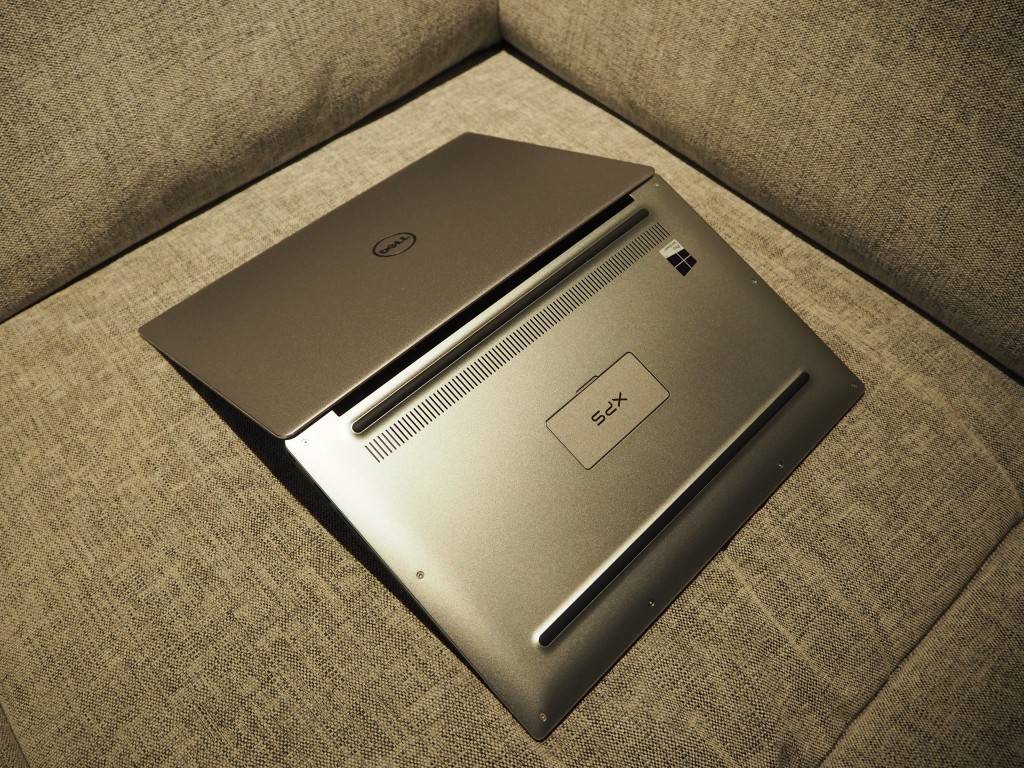
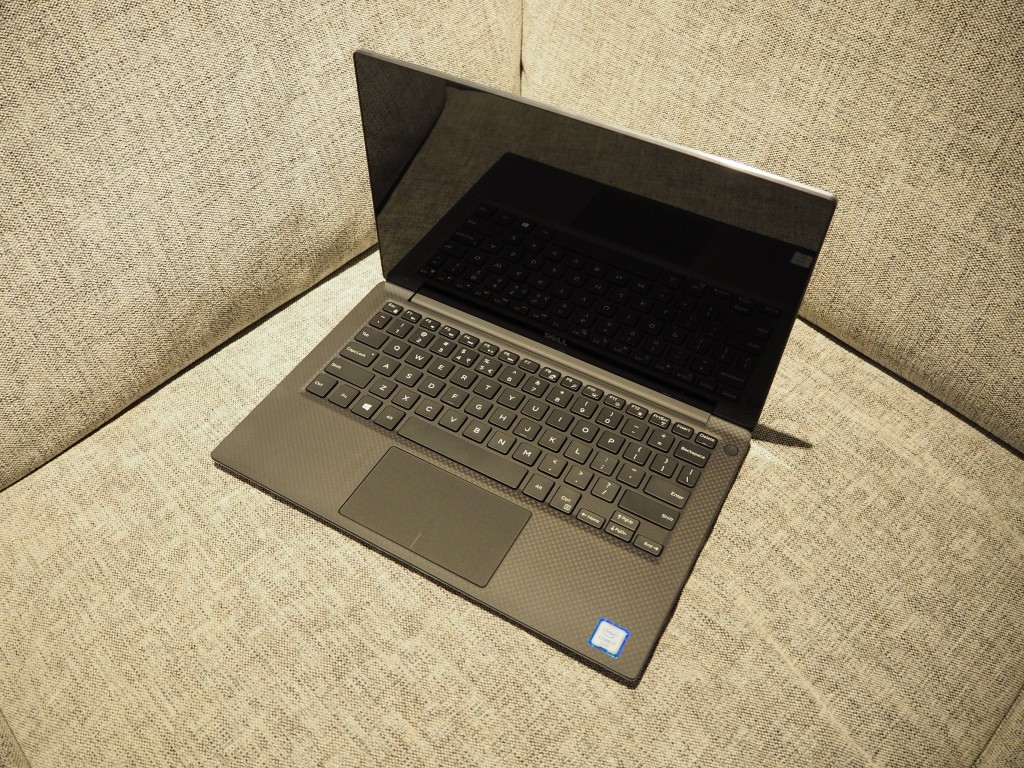
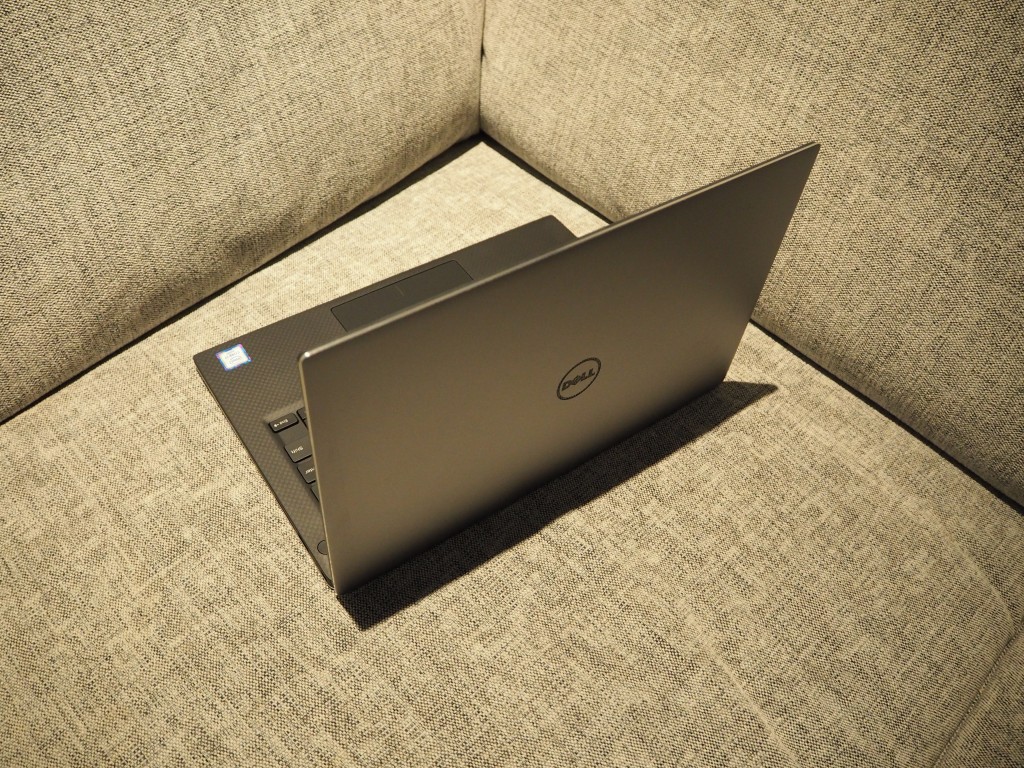
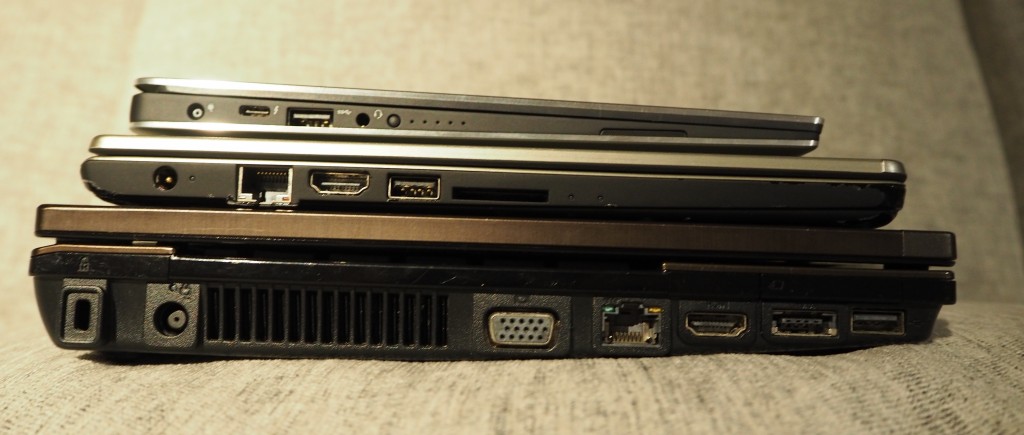
Top: XPS 13 9350, year 2015
Middle: HP Folio 13-1016TU, 2012
Bottom: HP Probook 4320s, 2010
Specifications
CPU: Intel Core i7-6560U (Skylake-U)
2 Cores (4 Threads), 2.2GHz (up to 3.2GHz), 4MB Cache
GPU: Intel Iris Graphics 540
48 Compute units, 300MHz (up to 1050MHz), 64MB eDRAM
RAM: 8GB DDR3-1866
Display: 13″ 3200×1800 Multi-touch
Storage: 256GB Samsung PM951 M.2 PCIe SSD
Radio: Dell Wireless 1820A 802.11ac, Bluetooth 4.1 LE
Ports: 1x USB 3.1 Gen 2 Type-C (Thunderbolt 3), 2x USB 3.0 Type-A, 1x Headset Jack
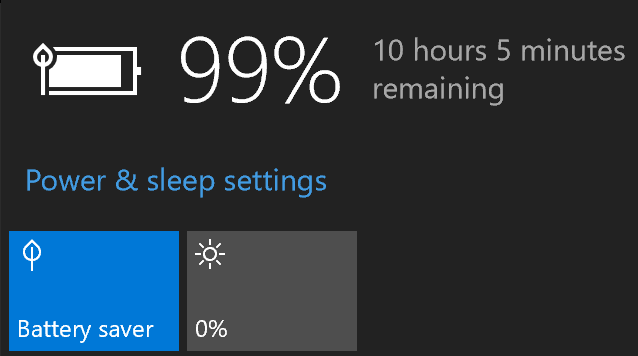
Other: TPM 1.2, Webcam, Microphone, Stereo Speakers, SD Card Reader, Battery level indicator
Operating System: Microsoft Windows 10 Pro
Setting Up
The first thing to do with any new computer is update the BIOS if a newer version is available from the manufacturer’s website. Next, download the Windows 10 media creation tool, insert an empty USB disk, and make yourself a Windows 10 installer. Download the Dell Wireless 1820A WiFi Driver and save it to that same USB disk – this is the only driver you will need, everything else is installed by Windows Update.
Reboot and hit F2 as soon as you see the Dell boot logo to enter the system setup. Under Advanced Boot Options disable Legacy Option ROMs. Set SATA Operation to AHCI, enable SMART Reporting, set an Admin Password to lock your system settings, under TPM 1.2 Security tick TPM On and click Enable, enable Admin Setup Lockout, enable Secure Boot. Save changes and exit.
With the USB disk plugged in, hit F12 when you see the Dell boot logo to enter the boot menu. Select your USB disk to begin Installing Windows 10. You don’t need a license key – it already knows if the laptop is authorised to use Windows. When you are asked Which type of installation do you want?, select Custom and delete all existing partitions.
Install the Dell Wireless driver you downloaded earlier to get online, then open the start menu and type ‘Check for updates’ to update Windows and install any missing device drivers.
Next open the start menu and type Manage BitLocker. In the lower right corner click TPM Administration. If you do not see The TPM is ready for use, you will need to click Prepare the TPM and/or Turn TPM On. Now return to the BitLocker settings and click Turn on BitLocker for your system drive. When prompted, save your BitLocker key file to that USB disk – you will need this key to unlock Windows if you update your BIOS, if your boot order changes, or if something goes wrong with the TPM or Secure Boot.
Linux
Ubuntu 16.04 works with no additional drivers or configuration changes. If you want to dual-boot Windows and Ubuntu you can hit F12 when you see the Dell boot logo to select your operating system with the laptop’s inbuilt UEFI manager.
The Good
Everything I do on this laptop feels fast. The PCIe Solid State Drive is noticeably faster than a SATA SSD. The CPU and GPU are well-balanced to make the system smooth and responsive without draining the battery too quickly. The Intel Iris 540 GPU can play some games at 1080p, although newer titles won’t run at the highest graphical settings.

The viewing angle, colours, and brightness of the display are superb. The keyboard is comfortable for long typing sessions even with large hands. The trackpad and touch screen are both easy to use, and I find myself using both together – tapping the screen to click a button feels more natural than moving a mouse cursor. Audio quality is better than it should be for such small speakers.
The Bad
It cannot boot from a SD card. No HDMI or Ethernet ports. The underside gets hot during heavy workloads. I can’t plug in thick USB devices (such as the Corsair Survivor) when the laptop is sitting flat on a desk because the ports are too low. The trackpad cannot right-click and left-click at the same time. The display is highly reflective and covered in fingerprints.
Benchmarks
Here are some benchmark test results with the Intel i7-6560U CPU and Iris 540 GPU in the Dell XPS 13, compared with an AMD CPU and various GPUs from my previous post Testing a Titan.
LuxMark 3.1
3DMark Advanced Edition
