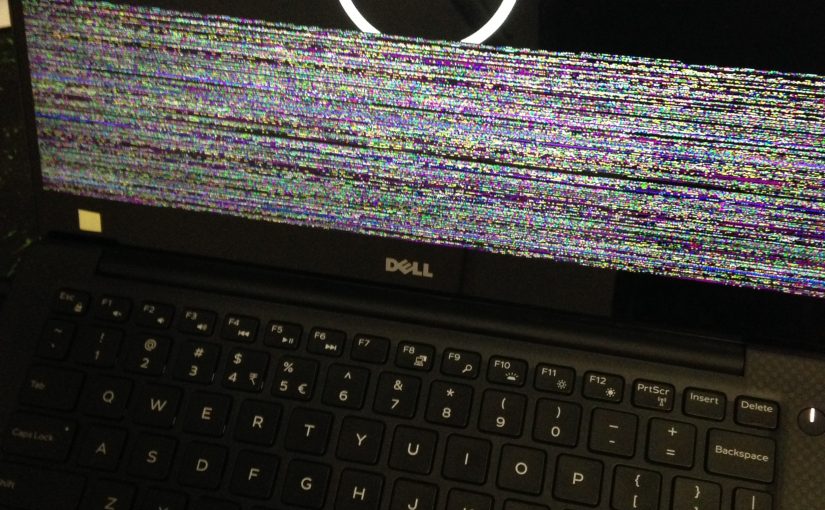
A follow-up to my previous post about the Dell XPS 13 9350. Thermal performance, dynamic brightness control, and a failed BIOS update.
BIOS Fail
The BIOS (Basic Input/Output System) is the software that runs on your computer when you first turn it on, before anything else like Windows or OSX. When you attempt to update your BIOS and something goes wrong, there is a chance that your whole computer will become unusable or ‘bricked’. This nearly happened to me with the 1.4.3 BIOS update. After installing the update, a black screen was all that appeared when the computer was turned on. Turning it off and on again didn’t help – nothing but black screen. When I tried it again later that day I was only able to view only the middle part of the screen in the BIOS menu, and any attempt to boot into Windows or Linux would fail. I tried copying the older 1.3.3 BIOS onto a USB drive and installing that (downgrading) from the BIOS boot menu, but the problem remained. I was able to find the option to reset the BIOS to factory defaults, then installed the 1.3.3 BIOS again and it worked! I don’t think I was the only one having problems, because Dell removed 1.4.3 from their download site after 1 week.
Adaptive Brightness
The XPS 13’s ‘adaptive brightness’ feature – which alters the display contrast for no apparent reason or benefit – was brought to my attention on Reddit’s /r/dell discussion forum. I’m not really sure what Dell were trying to achieve here. You can run this test to see if your display has this problem. If you have the QHD+ (3200×1800) display you can install this firmware patch to fix it. There is no fix for the FHD (1920×1080) display.
Thermals
The Intel Iris 540 GPU makes the XPS 13 9350 a capable ultrabook for mobile gaming. It has even more potential performance locked away behind an inefficient cooling system and non-optimal CPU/GPU power settings. For a more detailed analysis, read Douglas Black’s article a closer look at performance and throttling over at ultrabookreview.com.
I followed the suggestions in Douglas’ article and found a similar improvement in performance.
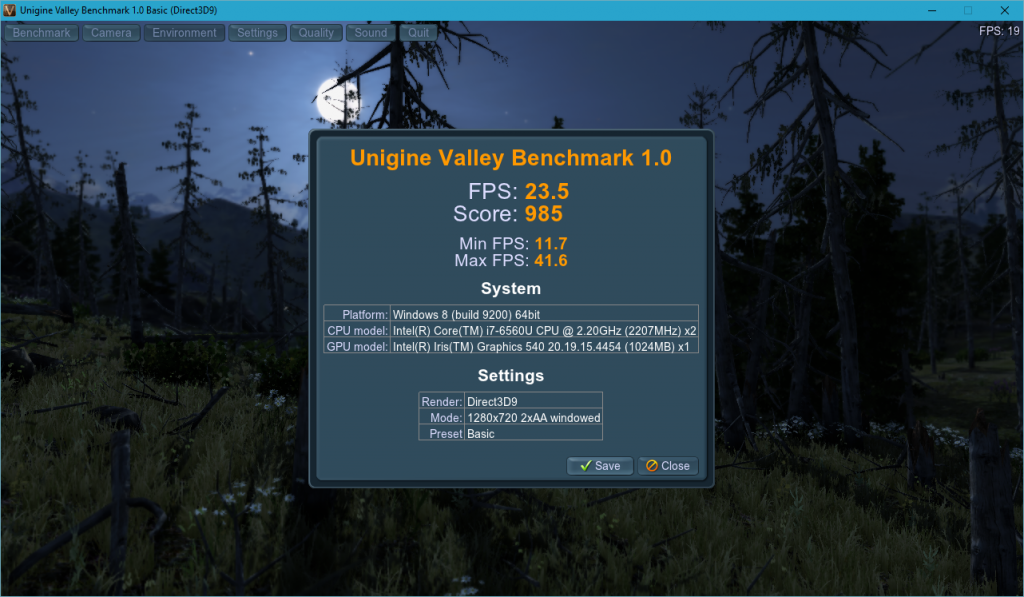
To compare performance I used the Unigine Valley Benchmark on ‘basic’ settings.

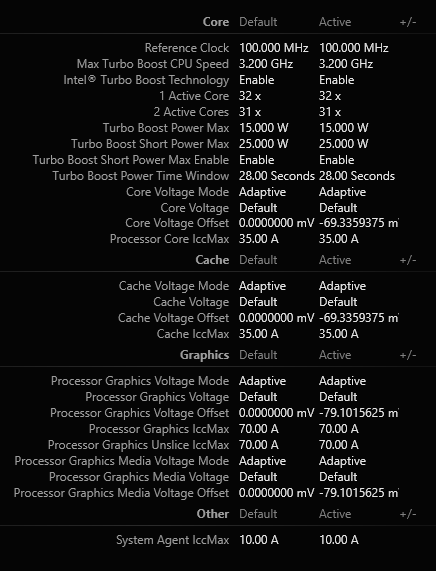
First I tried ‘undervolting’. I installed Intel Extreme Tuning Utility and lowered the CPU voltage by 70mV and GPU voltage by 80mV. This allows the CPU to remain in its ‘Turbo’ state for longer than normal.
The next step was to open the laptop. Compared to some others I have repaired, this is very easy to open and access all the replaceable and serviceable components. You will need a T5 hex screwdriver, small Phillips head screwdriver, and a plastic pry tool to carefully pry the panel off after the screws are removed.
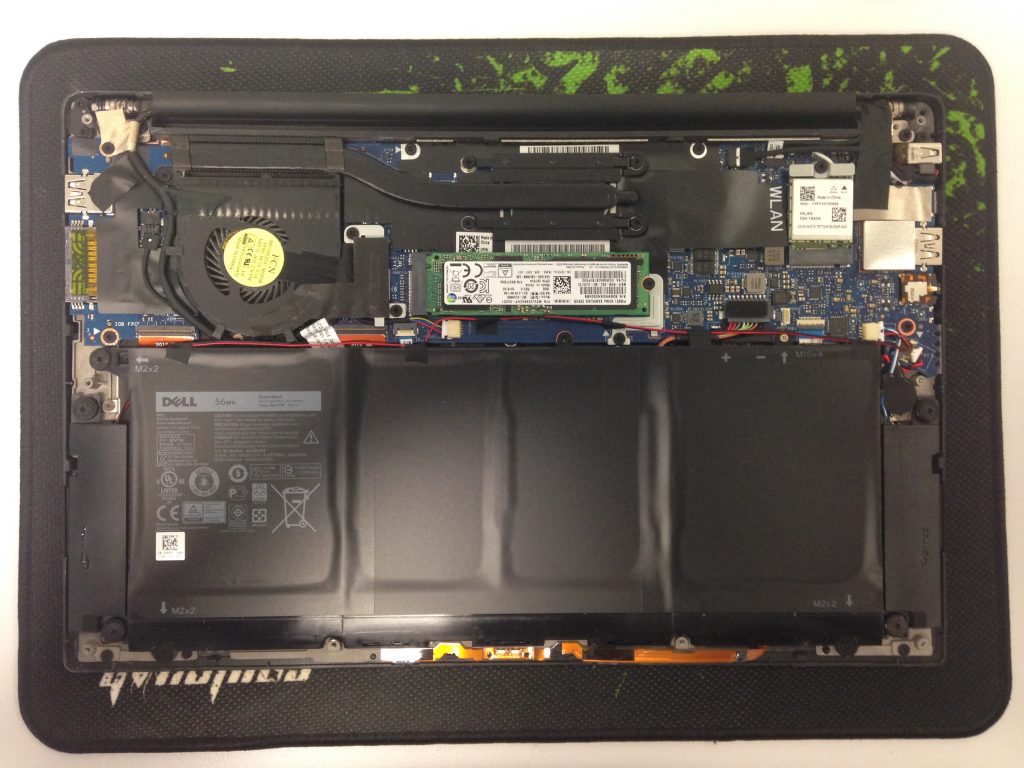
Be very careful when you remove the CPU cooler, as you could easily bend or break that soft copper heat pipe. Remove the large chunks of thermal compound with a small plastic scraping tool and then clean up with alcohol wipes. Re-apply new thermal compound as shown in Douglas’ article.
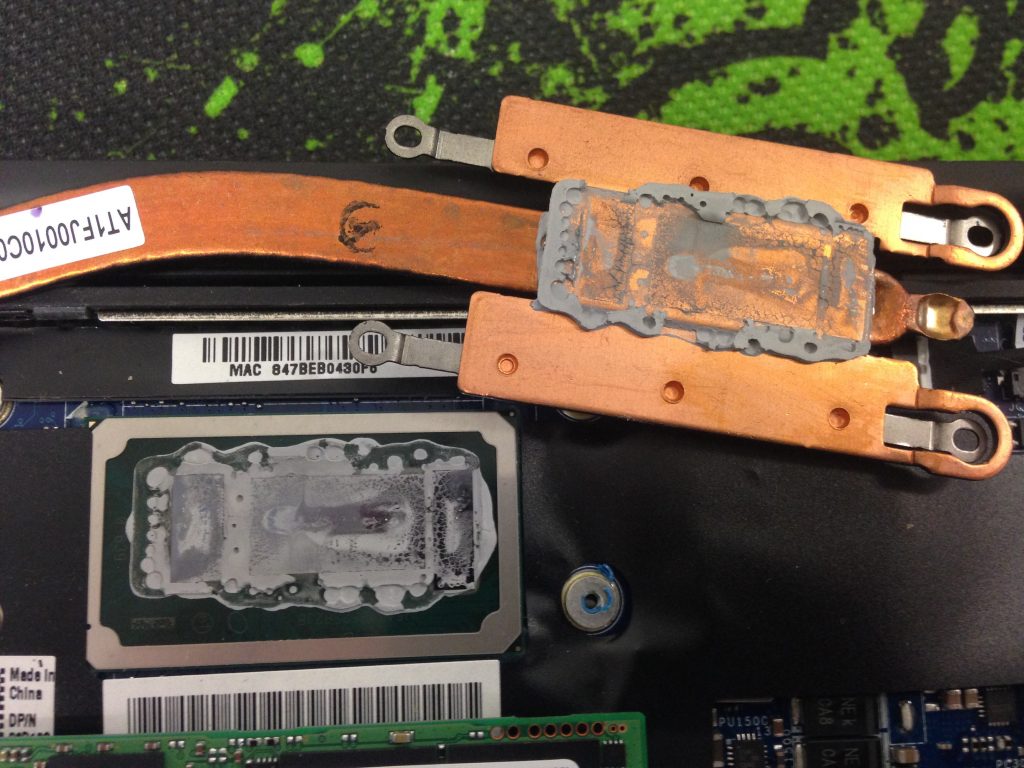
I first attempted to use a combination of 1.5mm and 2.0mm thermal pads but the case did not close properly, so I used all 1.5mm pads.
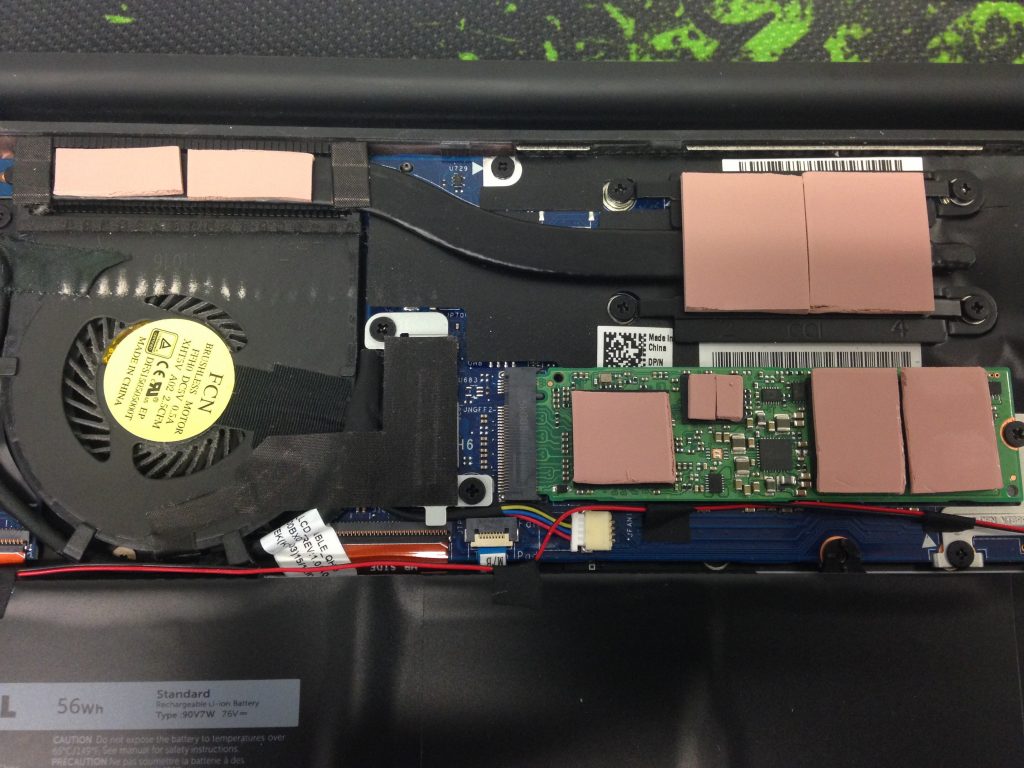
The underside of the laptop is now noticeably hotter than before, thanks to those thermal pads conducting heat away from the CPU, GPU, and SSD. Don’t do this if you like to play games with your laptop resting on bare legs.
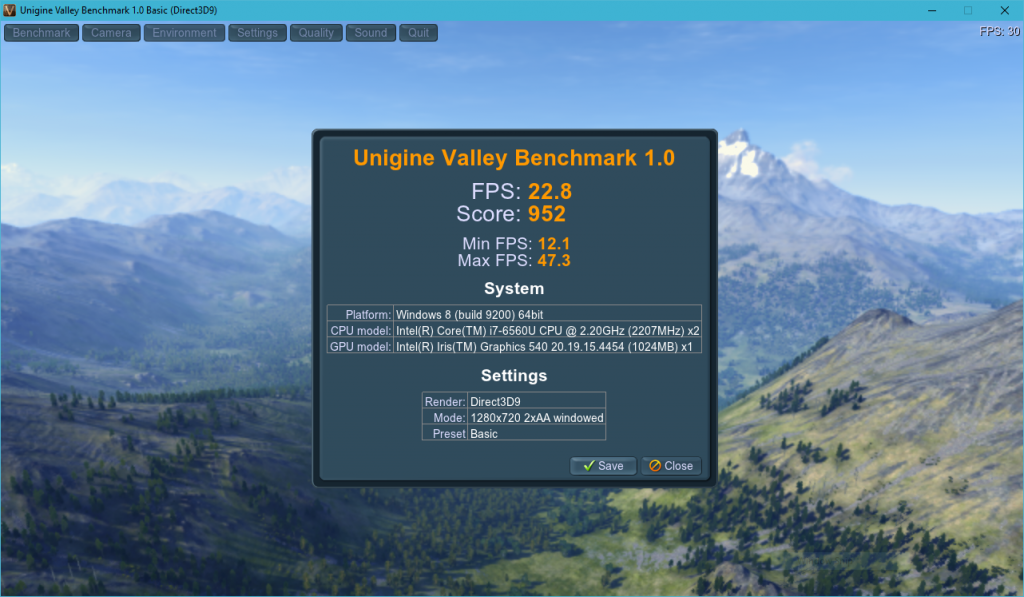
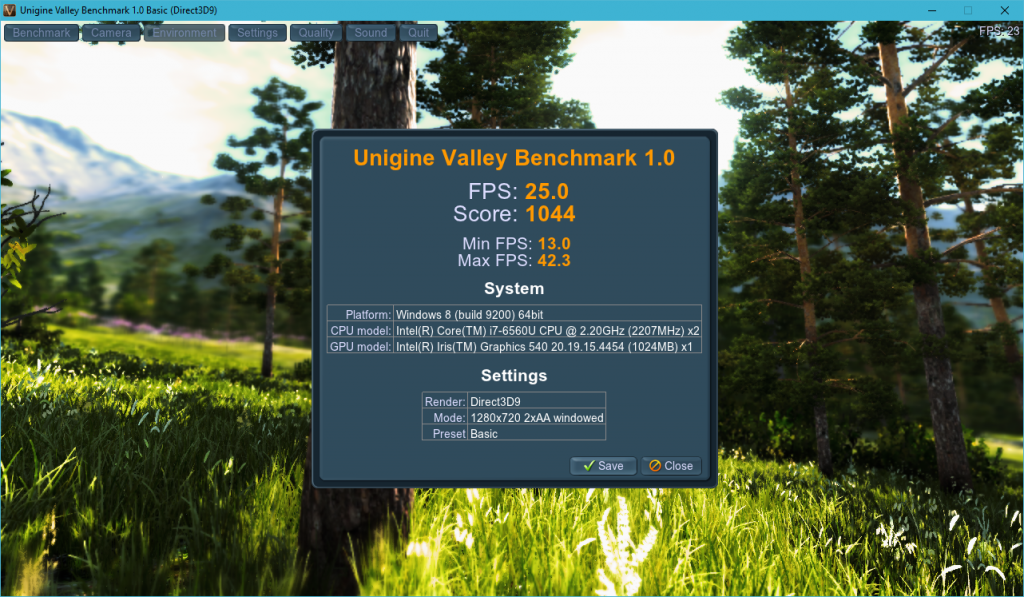
Game benchmark performance increased 16% with these changes and maximum package temperature during the benchmark (measured by the Intel tuning utility) was lowered from 82C to 69C.
