In 2012 Valve released “Big Picture Mode” for their Steam game distribution platform. This new user interface mode was intended for use on home TVs with a wireless game controller, essentially bringing a console-style living room gaming experience to PC.
In 2015 Valve collaborated with PC manufacturers to launch a range of home game consoles running their “SteamOS” Linux operating system. This “Steam Machine” initiative was a failure due to the low number of Steam games with native Linux support at the time.
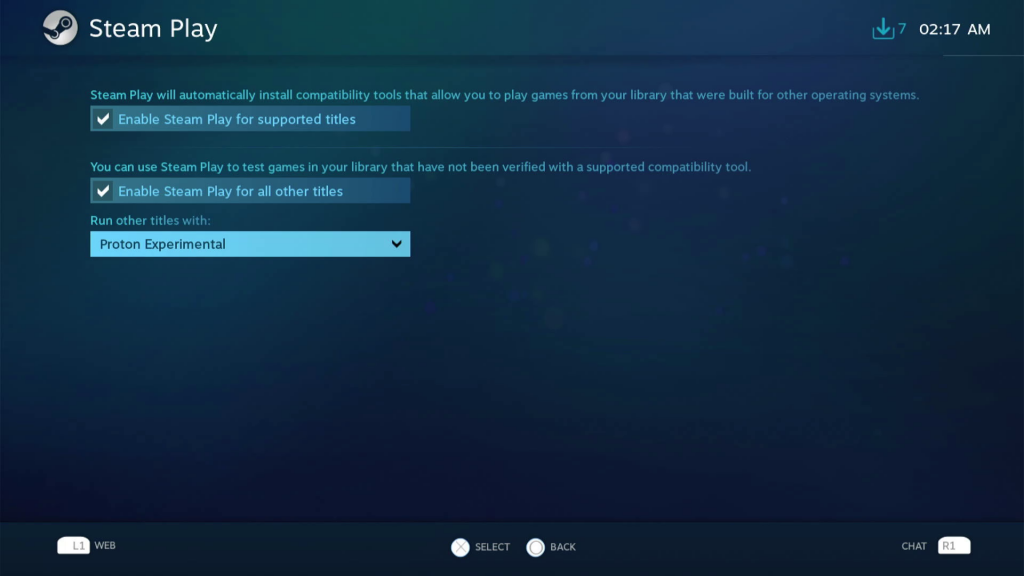
In 2018 Valve added “Proton” to Steam to enable running Windows games on Linux without native support. Then in 2022 Valve launched their own “Steam Deck” handheld gaming PC with a new version of SteamOS and improved Proton, this time finding commercial success with a vastly improved library of games supported.
I tried SteamOS and Proton in 2019 with poor results. Many of the Windows games I tested either didn’t run, or had obvious graphical issues, or ran significantly slower than on Windows.
This is my experiment to answer the questions: Has Linux gaming with Steam improved in 2022? Is the integrated GPU in AMD’s Ryzen 5600G powerful enough to be a game console? Is 8GB RAM sufficient? Is it possible to set this up without typing strange commands into the Linux terminal?
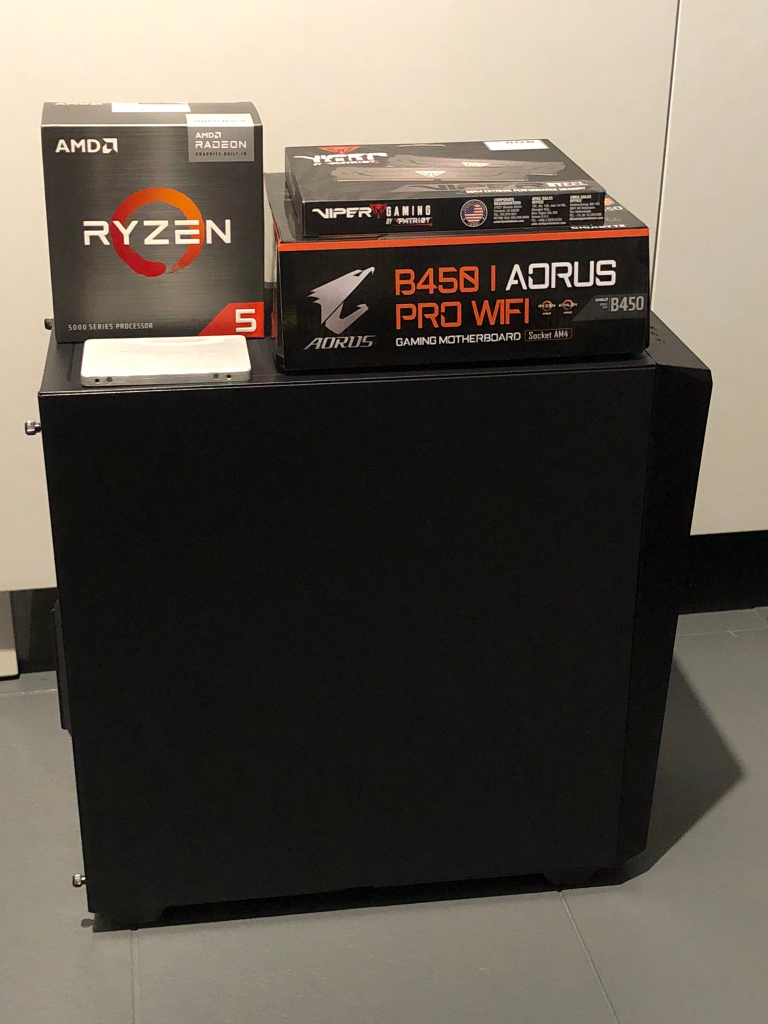
Parts list
- Motherboard: Gigabyte B450 I Aorus Pro Wifi
- CPU with integrated GPU: AMD Ryzen 5600G
- CPU cooler: AMD Wraith Stealth (included with CPU)
- RAM: 8GB DDR4 3200MHz (2x4GB)
- Case: Cougar MG120 Mini Tower Case with 400W PSU
- Hard disk: Samsung 870 QVO 2.5in SATA SSD 1TB
The B450 motherboard and 8GB RAM were spare parts I had from previous upgrades. I recommend avoiding QLC SSD (quad-level cell) for your daily PC due to its poor sustained write speed and relatively low write endurance. However these disadvantages are irrelevant for a game console which will have very little disk write activity after the games are installed.
Build guide


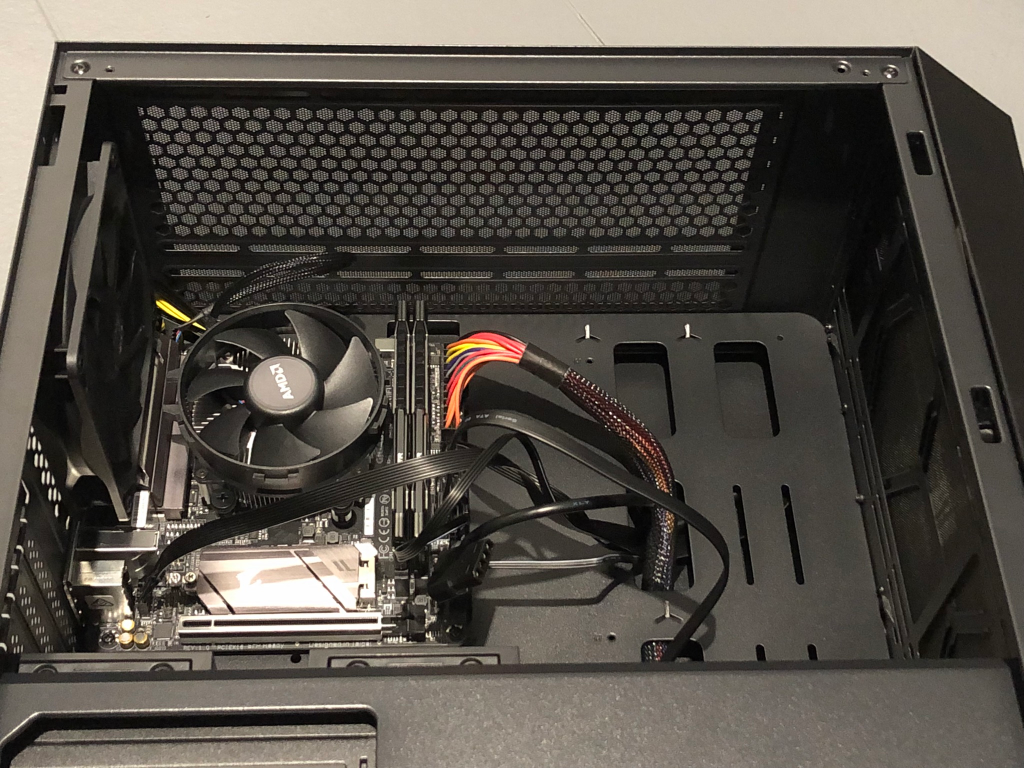
Now connect the power cable, mouse and keyboard, and your display. Push the power button and be ready to quickly disconnect the power if you see sparks or smoke. This is where you find out if any of your parts are defective.
If you made it this far, congratulations. You have built a PC!
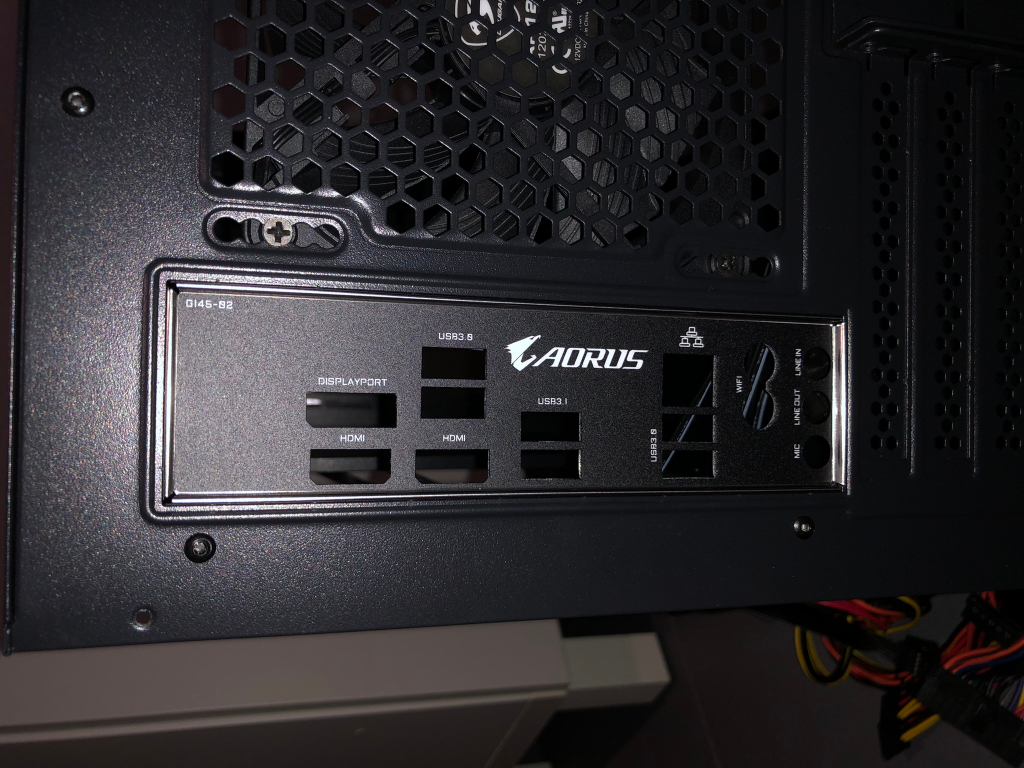
Not booting? Disconnect the power and double-check the big power cable to the side of the motherboard and the smaller one to the top of the motherboard. Check that the CPU and RAM are installed correctly. For integrated graphics the display must be connected to the HDMI or DisplayPort port on the back of the motherboard. If you installed a dedicated GPU then you want to connect the display to that instead (not the ports on the motherboard) and check that the GPU power cable is connected if it requires one.
Still not working? Compatibility between AMD motherboards and AMD CPUs can be confusing. B450 motherboards were originally sold with compatibility for Ryzen 1000/2000 CPU series. Support was added later for Ryzen 3000/4000/5000 through optional BIOS updates (the BIOS is the motherboard firmware, the interface that runs before you get to your operating system). Some premium models have a feature called “BIOS FlashBack” that can update the BIOS without requiring a compatible CPU. Without that, your only option is to find an old compatible CPU to boot temporarily just to update the BIOS. Buying a new B450 motherboard today is a gamble – old stock could have outdated BIOS. To avoid this problem it would be safer to choose a newer B550 motherboard, although these have the opposite problem of lacking compatibility with older CPUs. Check the manufacturer website!
BIOS setup
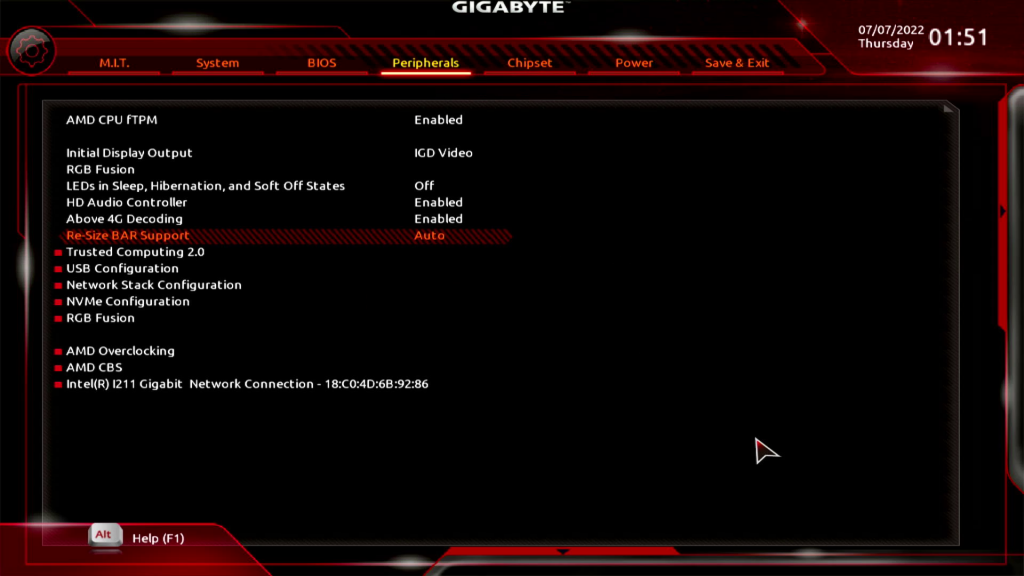
If your motherboard has a setting for boot mode, change it to “UEFI”.
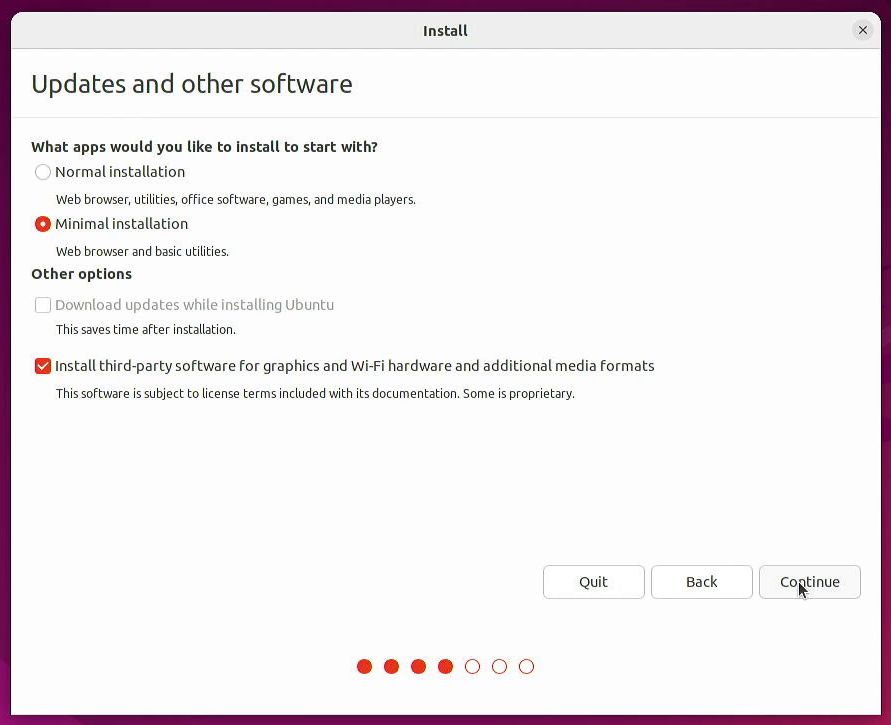
Install Ubuntu Linux
Now follow the instructions here to begin installing Ubuntu Linux: ubuntu.com/tutorials/install-ubuntu-desktop
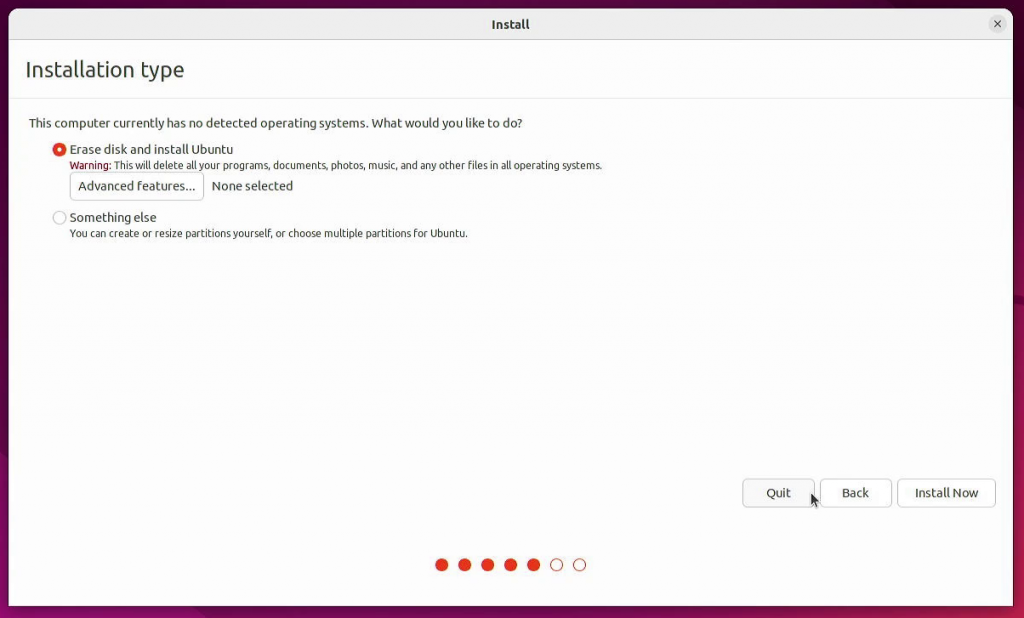
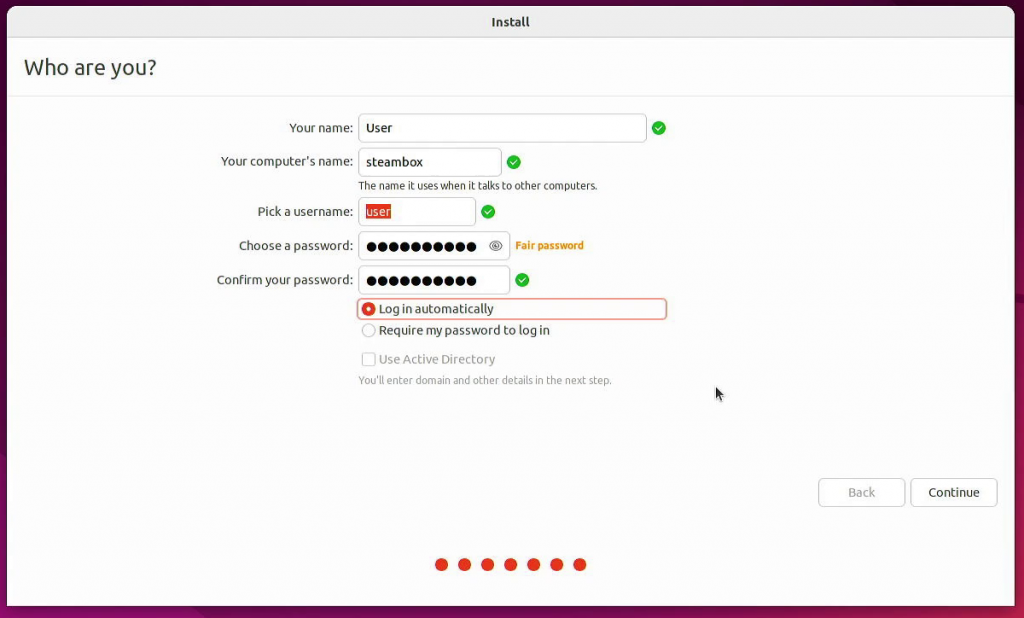
Reboot after the installation has completed.
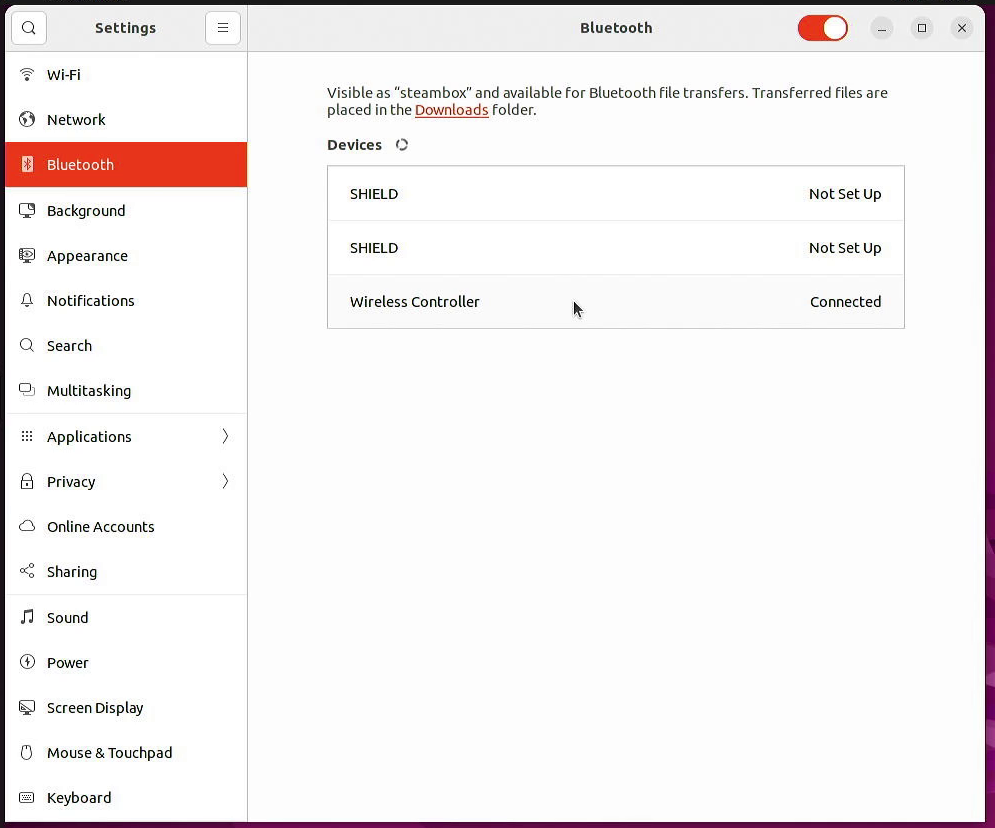
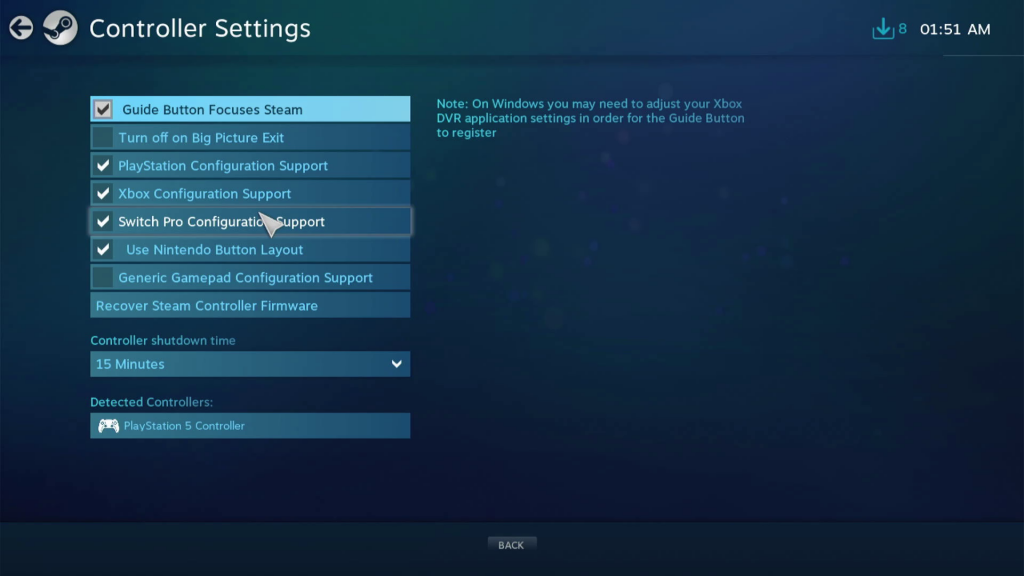
Game controllers
I tried connecting various modern game controllers to the Linux PC using USB, Bluetooth, and the wireless dongle if a controller had one. Results were mixed. I’m sure some of these could be made to work with more time and research.
| Controller | USB | Bluetooth | Wireless Dongle |
| Xbox One | Yes | Yes | – |
| Xbox Series | Yes | No | No |
| DualSense (PS5) | Yes | Yes | – |
| Steam Controller | Yes | No | Yes |
| Switch Pro | Yes | No | – |
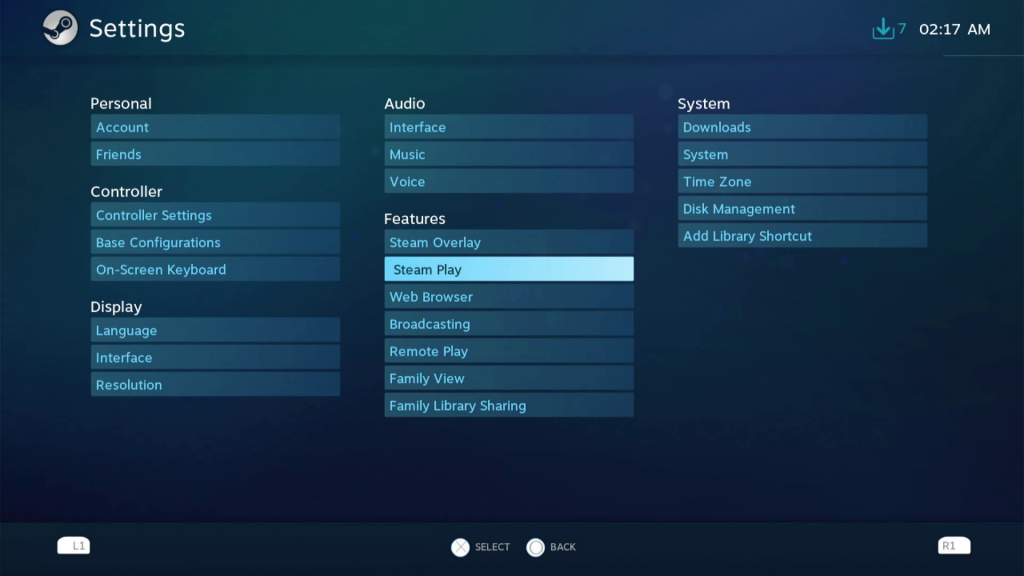
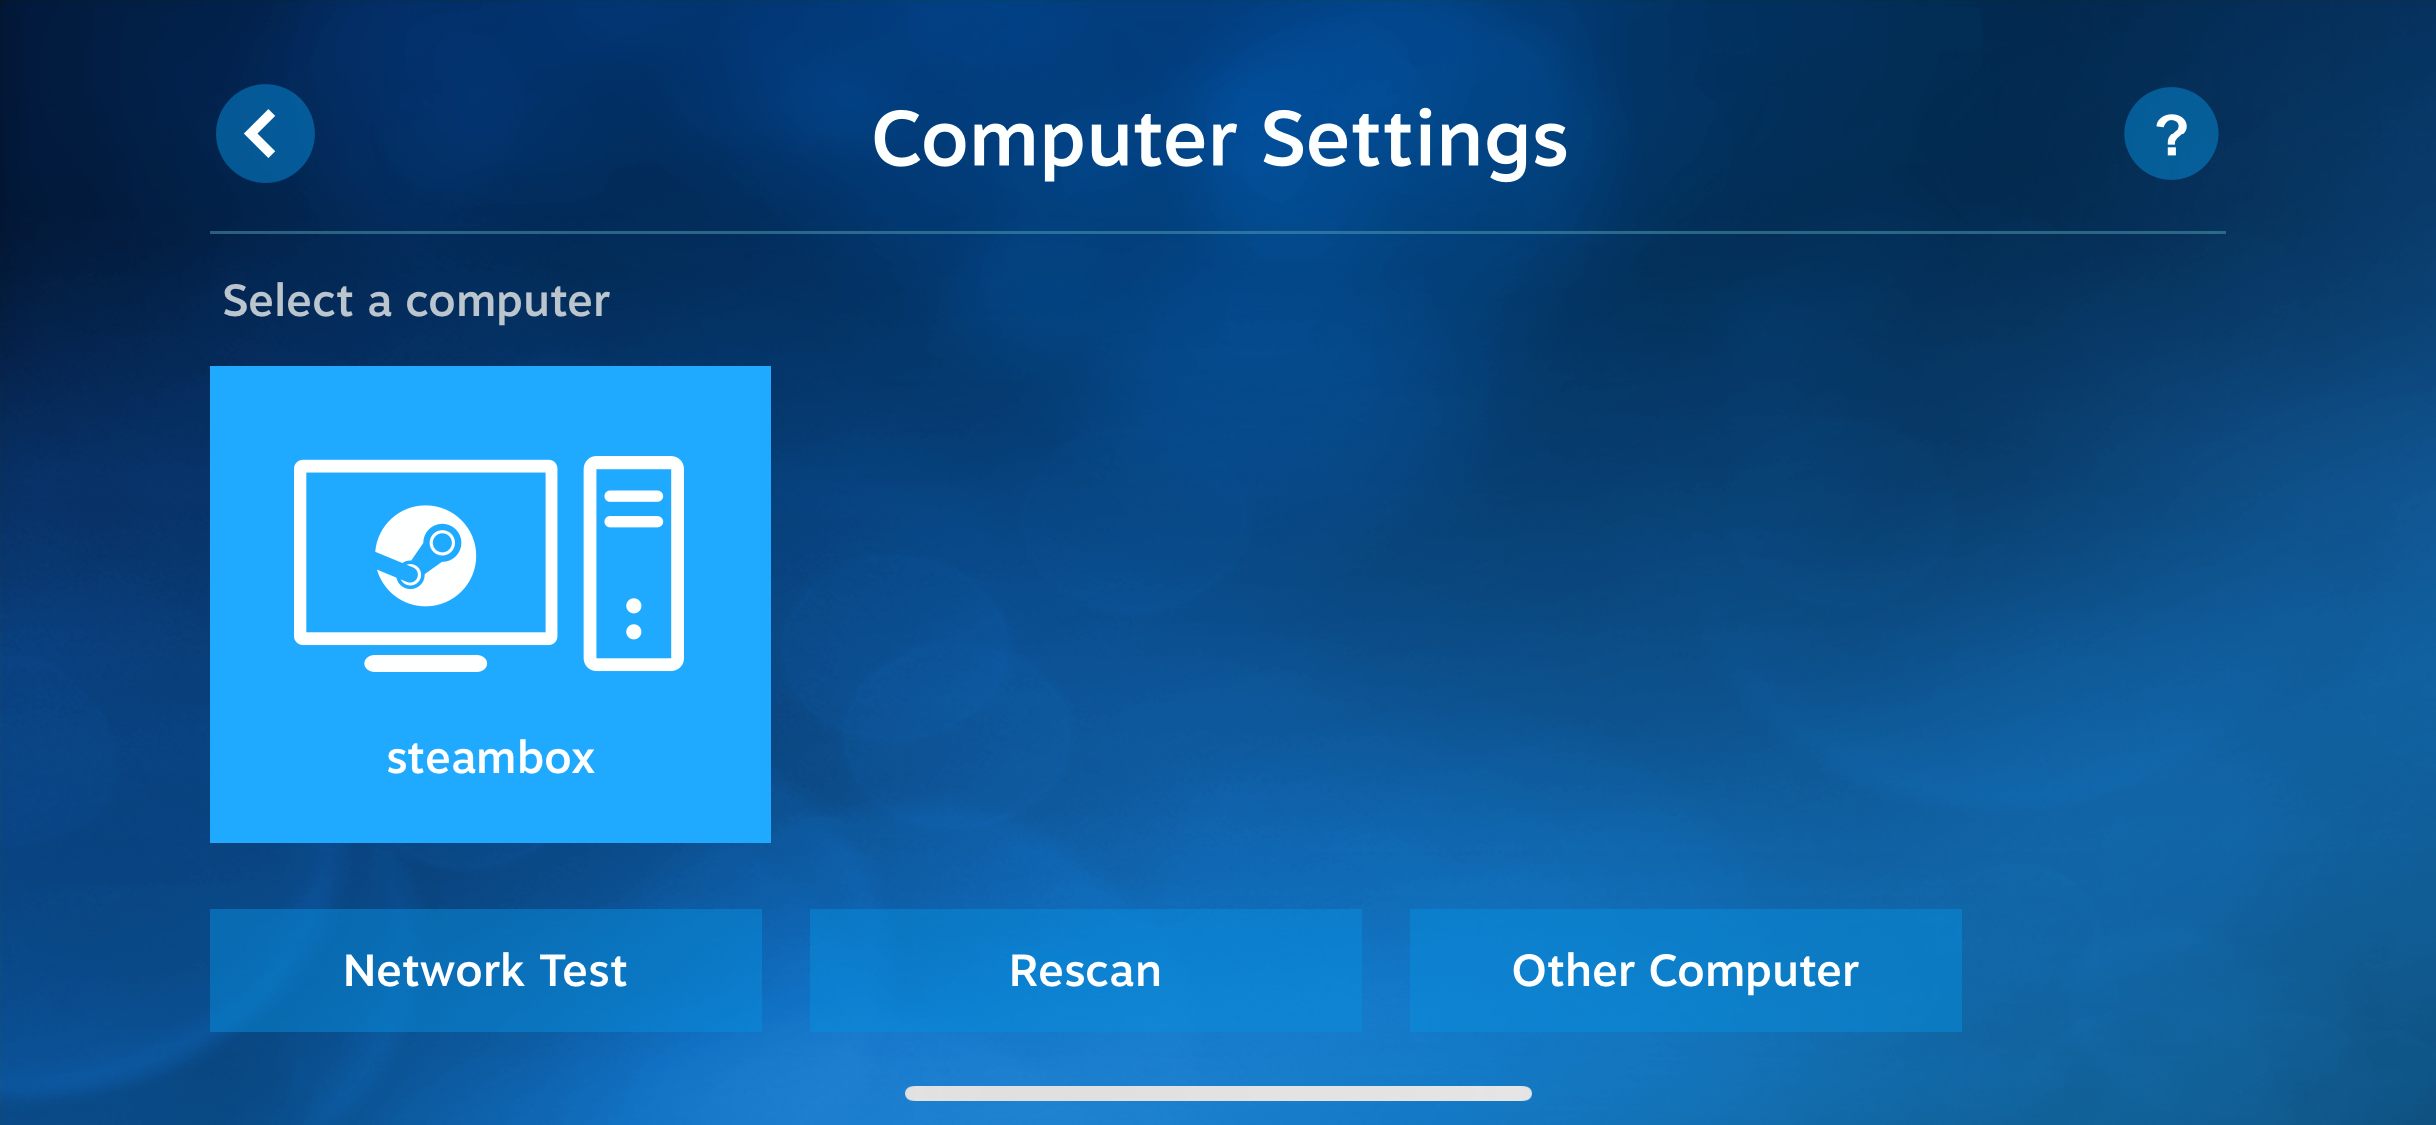
Steam


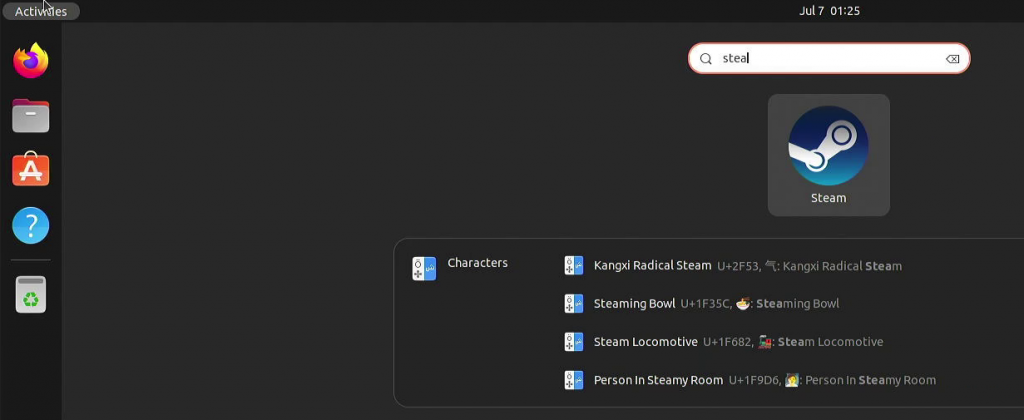
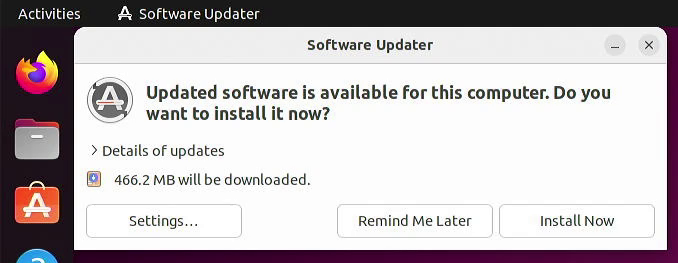
Now reboot the PC and it should automatically log in and launch Steam in Big Picture Mode.
Games
The following games worked perfectly (at least 30fps) with 8GB RAM:
- Rise of the Tomb Raider 1080p
- Shadow of the Tomb Raider 720p
- Deus Ex Mankind Divided 720p
- Crash Bandicoot 1080p
- Spyro the Dragon 1080p
- Yooka-Laylee 1080p
- MGS5 Ground Zeroes 1080p
- Untitled Goose Game 1080p
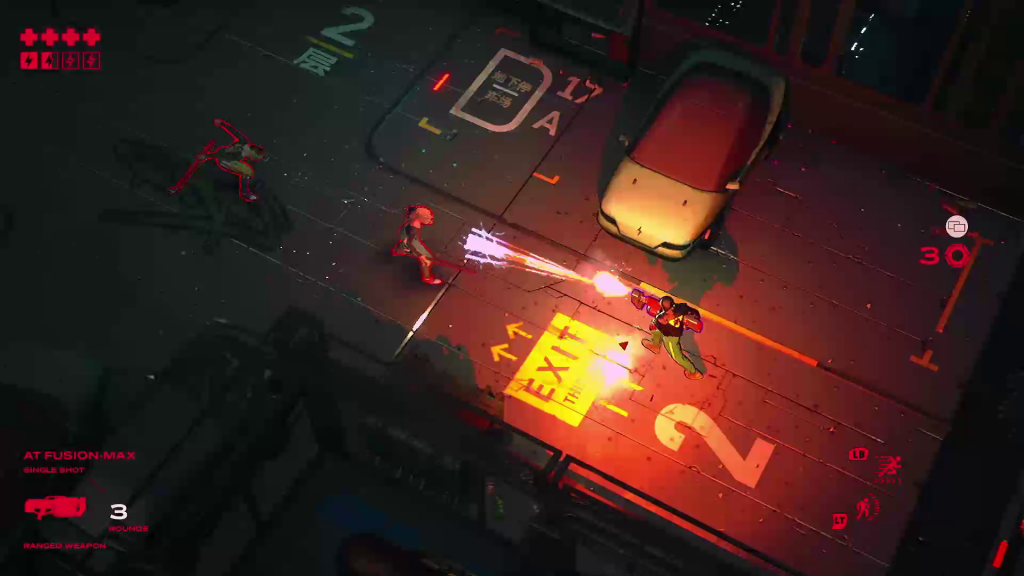
- Ruiner 1080p
- Aperture Desk Job 1080p
Note: All screenshots and video in this post were captured on a second PC with a cheap USB-HDMI capture dongle, which has unfortunately degraded the image quality a little.


More RAM
Some other games would not run, or crashed frequently due to insufficient RAM. With only 8GB installed and up to 3GB of that being used by the integrated GPU I was surprised that so many games actually worked.
First I tried disabling systemd-oomd to prevent Ubuntu from killing processes that use too much RAM, and increasing the size of the swap file to allow the system to use the SSD like additional RAM space. This helped a little – some of the games that were crashing before were now able to run, but they were running slowly. This is not a good solution.
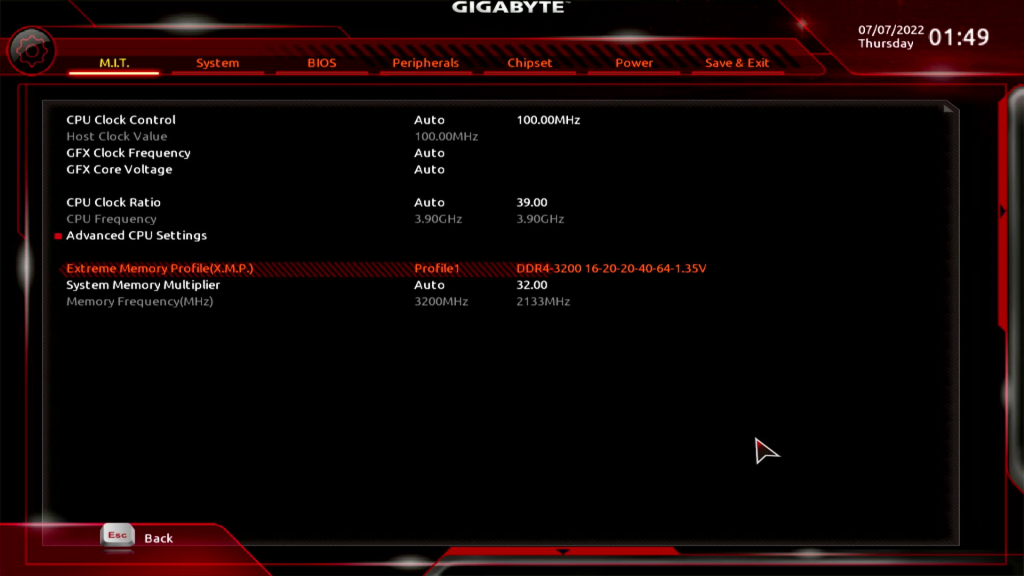
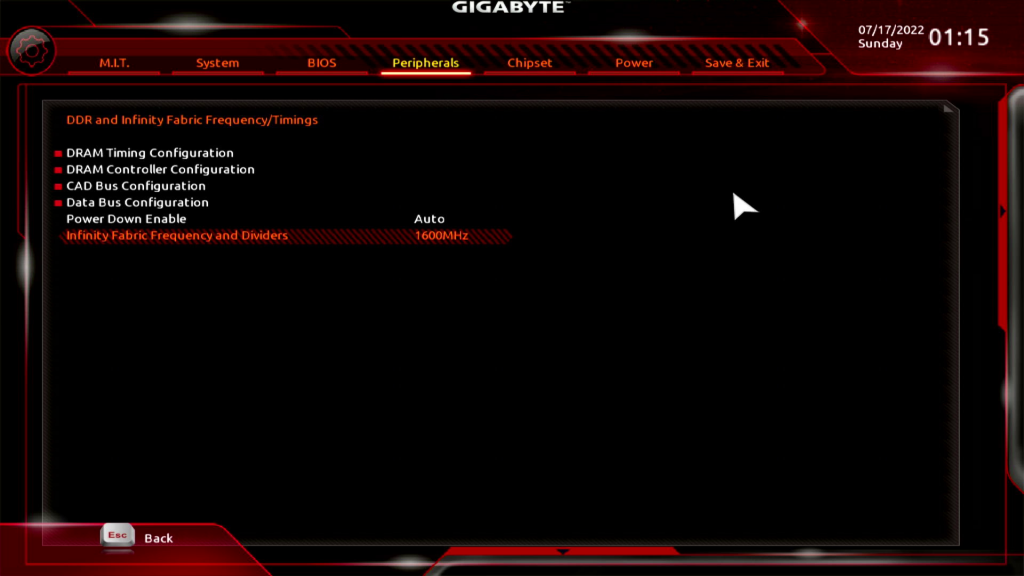
Next I borrowed the RAM from another PC – 32GB 3600MHz (2x16GB), and adjusted the BIOS settings to enable the new XMP profile and increased Infinity Fabric Frequency to 1800MHz (it should always be half of RAM speed for Ryzen 5000).
These games did work after upgrading to 32GB RAM:
- Halo Reach 1080p (only runs with anti-cheat disabled)
- The Ascent 1080p
- Arkham Knight 720p
- Ghostrunner 720p (DX11 only)
- Control 1080p
- Doom (2016) 1080p
- Grand Theft Auto V 1080p

8GB of system RAM is clearly insufficient for this purpose. I didn’t have a 16GB kit to test with, but I’m sure that would be enough. Just make sure it’s dual channel (two or 4 sticks), as other reviewers have found reduced performance using single channel memory (just 1 stick) with AMD integrated graphics.
Remote Play
Steam’s “Remote Play” feature is supposed to allow playing games on your PC remotely with your phone or other computer. Install the “Steam Link” app for iOS or Android. I have been using this successfully to stream games from a Windows 11 PC to my iPhone and to Android TV. However when I tried streaming from the Ubuntu system it did not work at all. Disabling hardware encoding in Remote Play host settings didn’t help.
Conclusion
Linux gaming with Steam has improved significantly. AMD’s open source graphics driver is installed automatically in Ubuntu without requiring typing commands into the Linux terminal. Valve’s work on Proton for playing Windows games on Linux is excellent. Every game I tried this time has worked. The Ryzen 5600G is capable of running many games at 1080p.